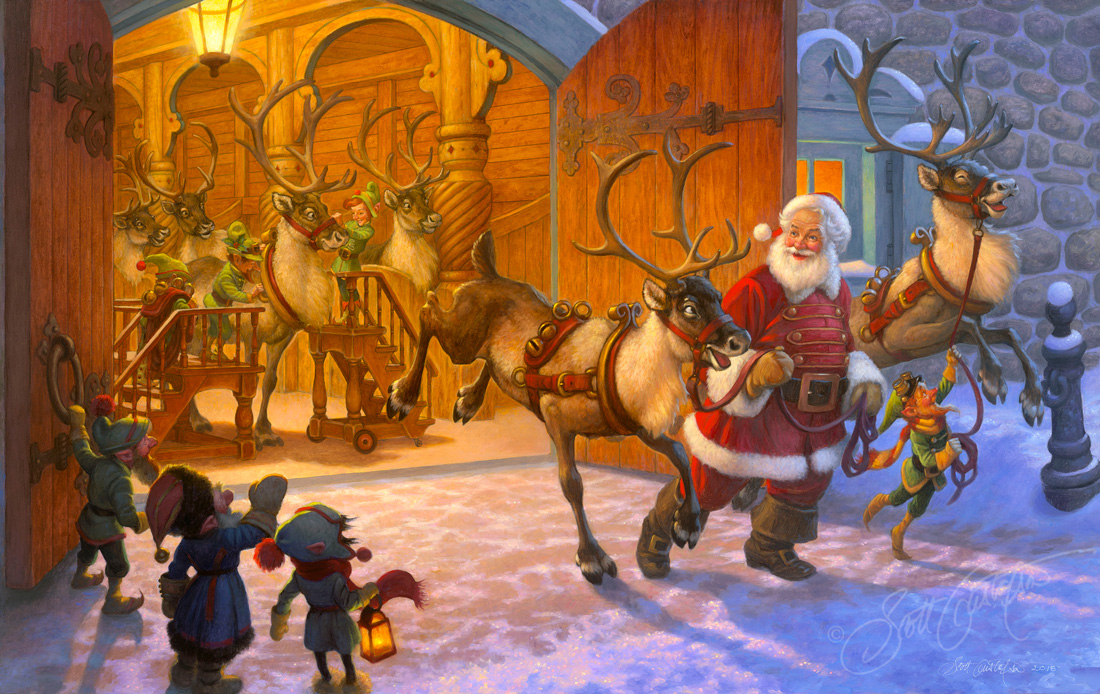
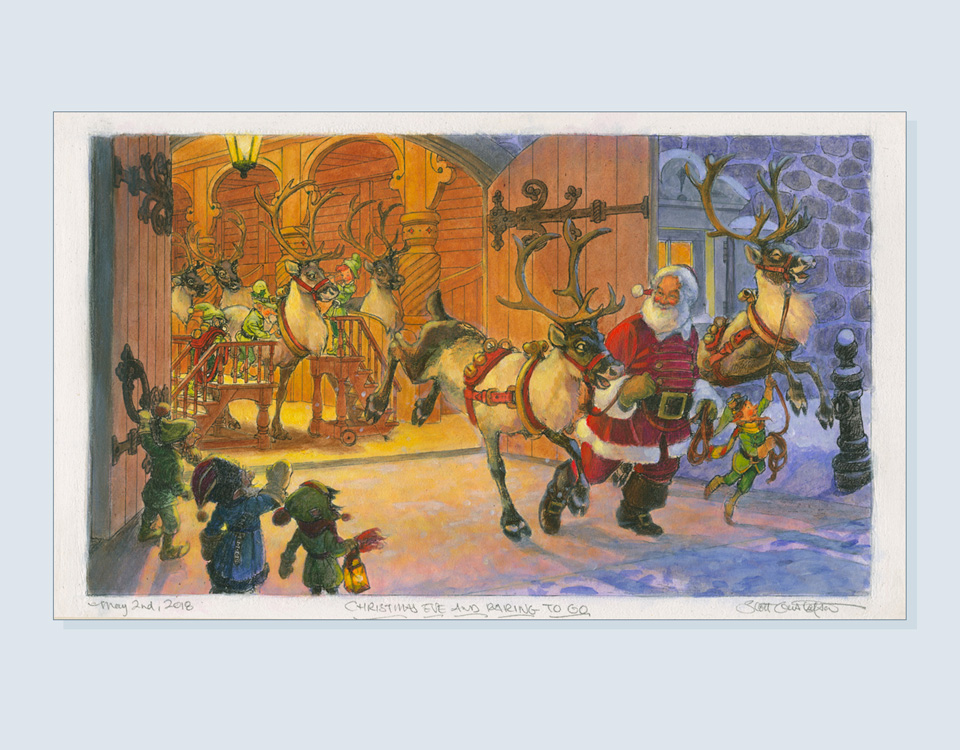
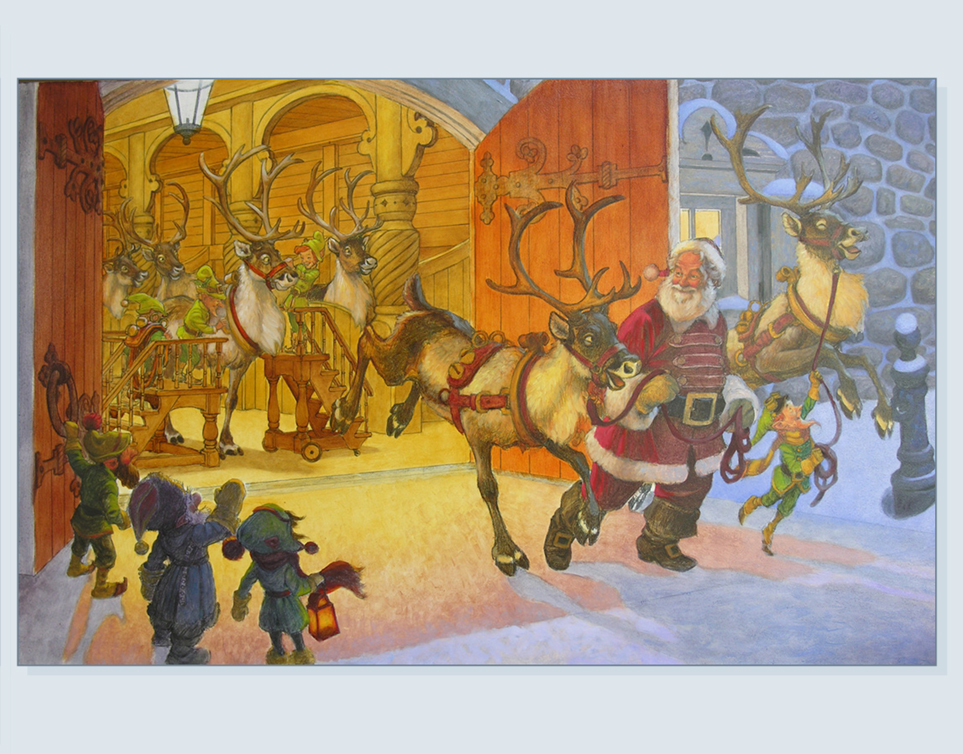
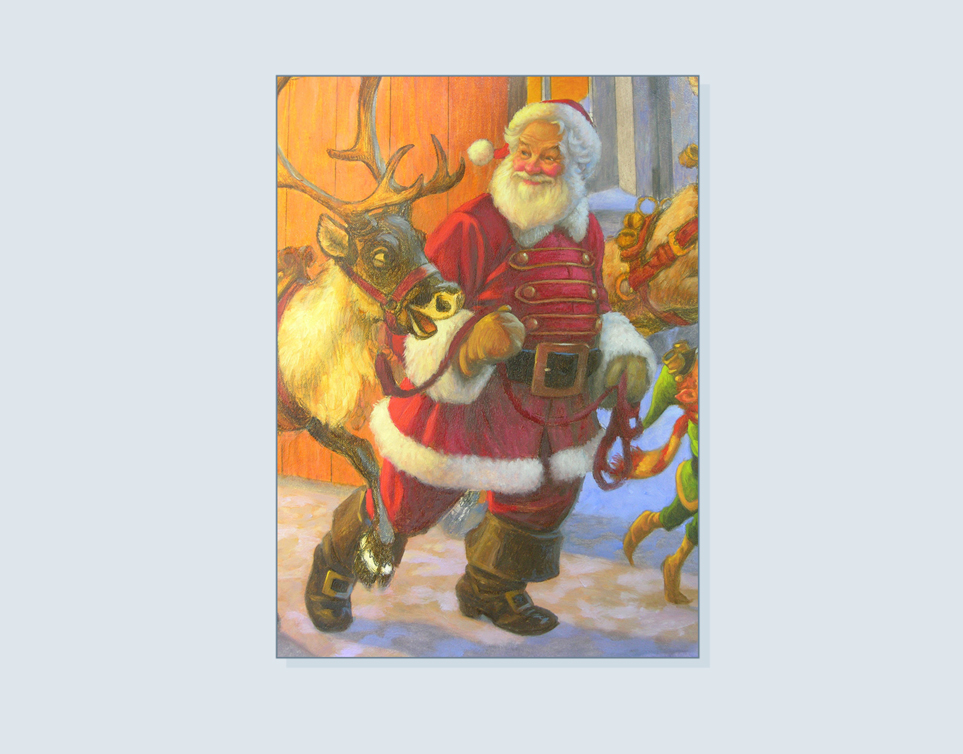
Christmas Eve and Raring to Go!, oil on panel, 38" x 23"
christmas eve and raring to go!
A STEP-BY-STEP PROGRESSION OF A PAINTING
I always thought it would be fun to explore what it would be like up at the North Pole when the reindeer were being harnessed for the sleigh! --SG
Here are links for ordering a:
Click the Slideshow arrows below to see a step-by-step progression of the painting! Caption descriptions are below the images.
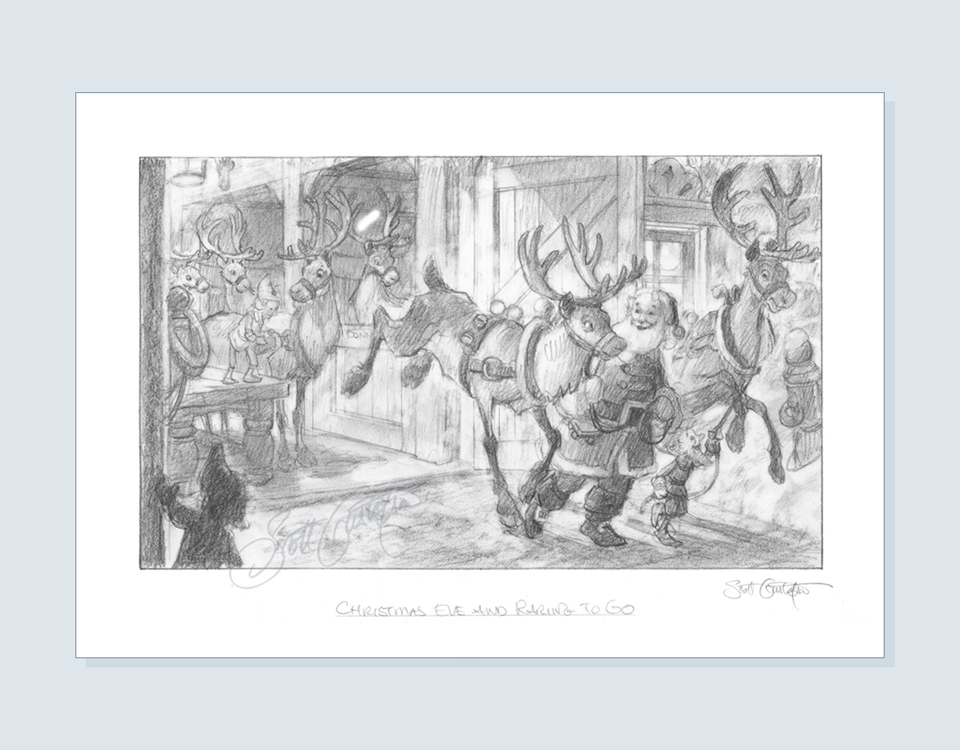
The rough sketch tries to convey the basic idea of what the upcoming painting will look like and defines the main characters and basic composition. Of course, changes usually occur as I get more reference and define the characters accordingly.
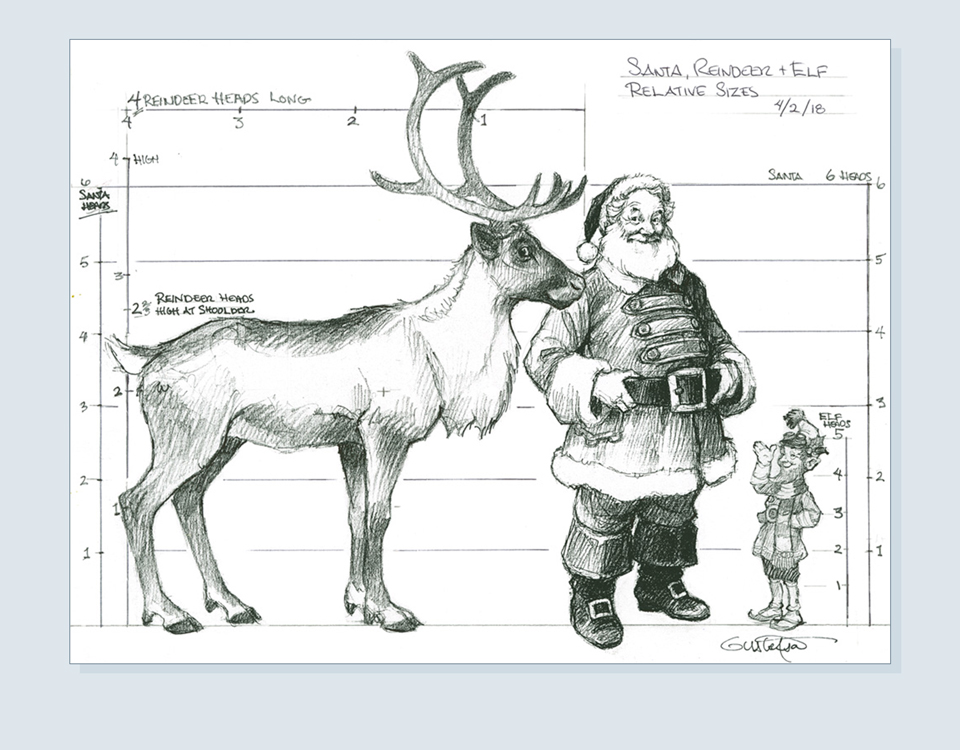
I thought it might be a good idea to establish the size relationships of the characters right away, and this little diagram came in handy.
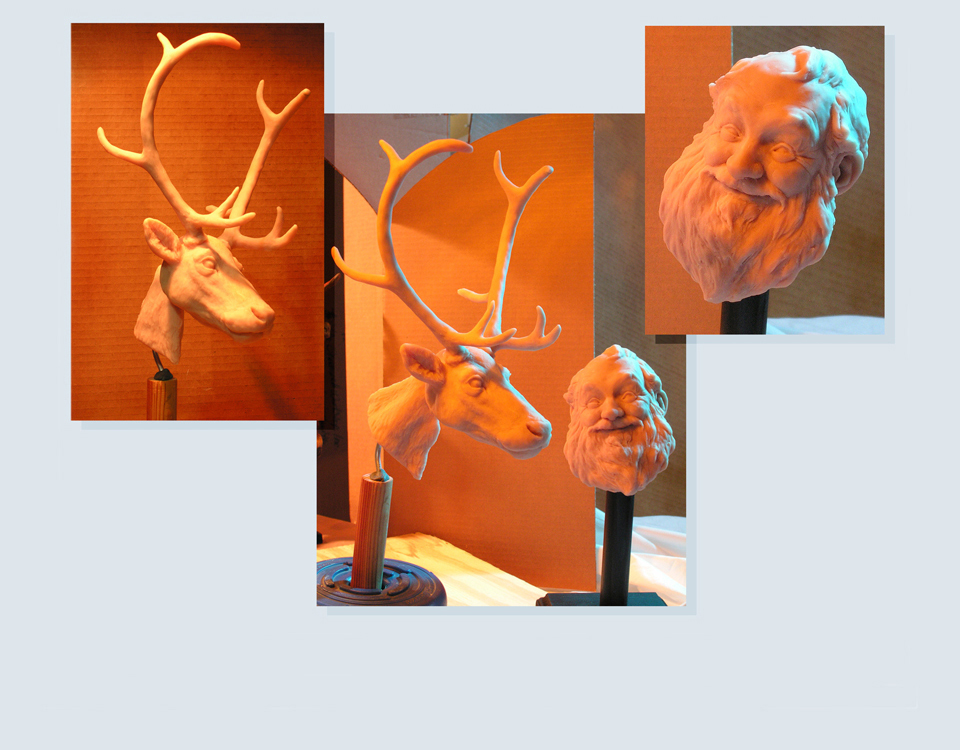
If time allows, making a sculpture of my main characters is really helpful for lighting effects that I want to show in the final painting. Plus, now I’l have consistent photo reference for this character for future paintings. The reindeer head was also done in Sculpey, primarily so I could at last have reliable reference on how the antlers looked at various angles, as that’s really hard to fake!
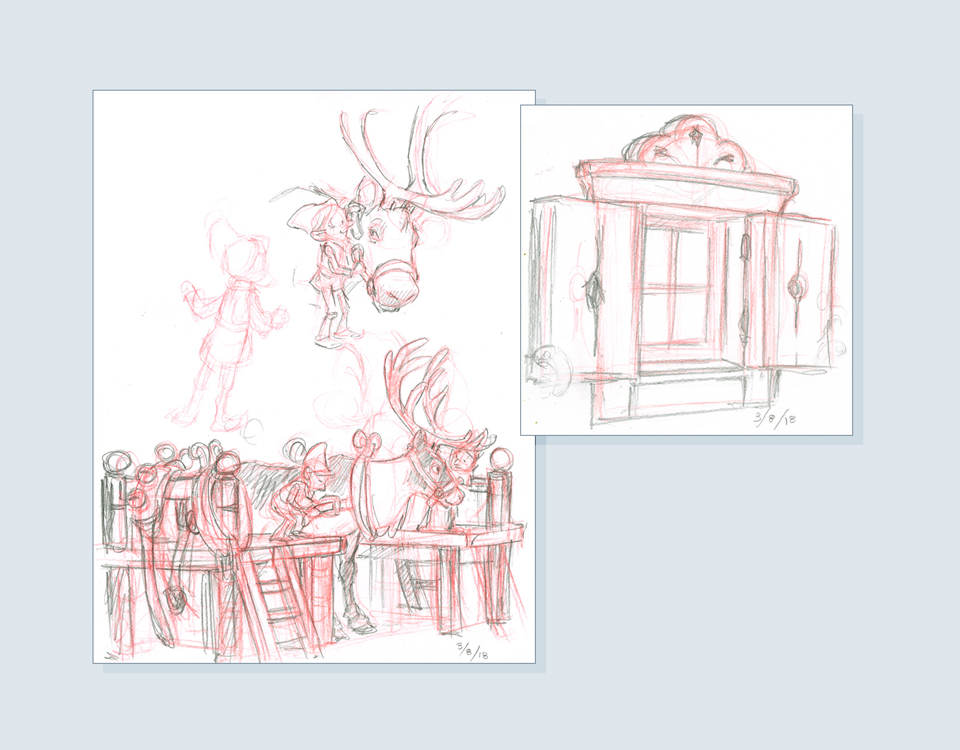
It seemed the easiest way for the elves to bridle a reindeer would be to work from a platform, so this sketch is exploring that. On the right is a study of a window.
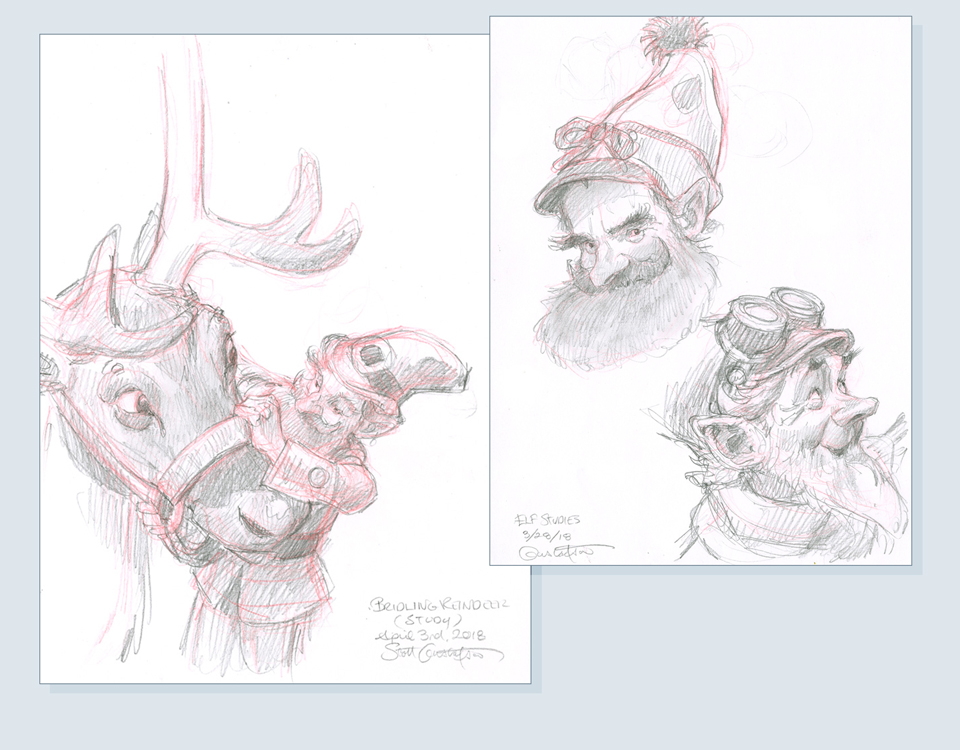
On the left the elf is bridling the reindeer, on the right are a few head studies.
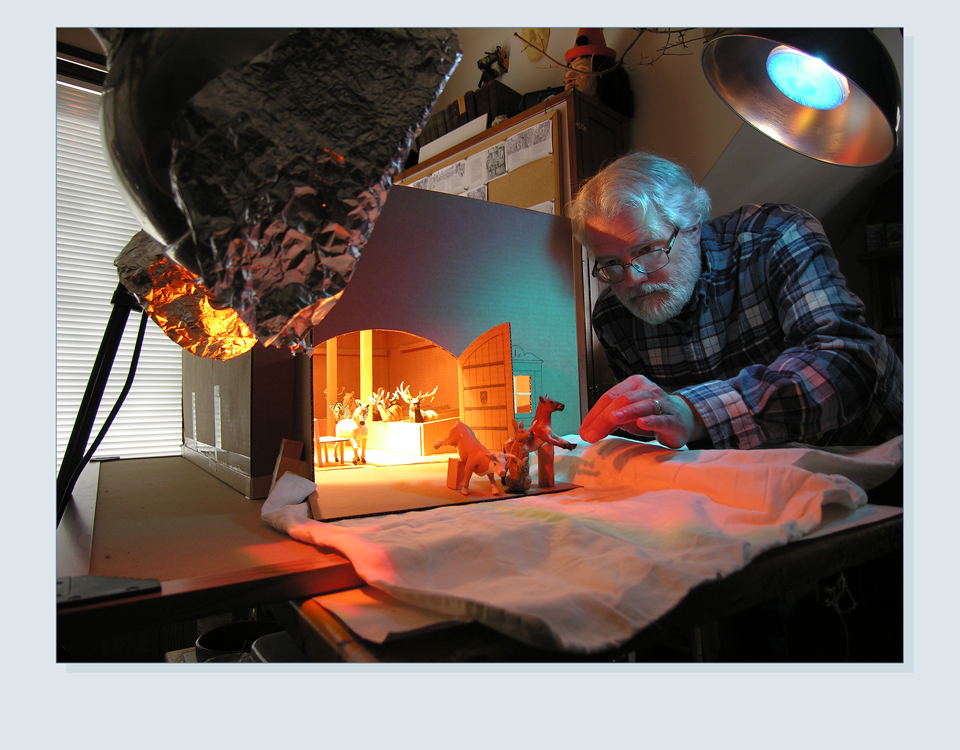
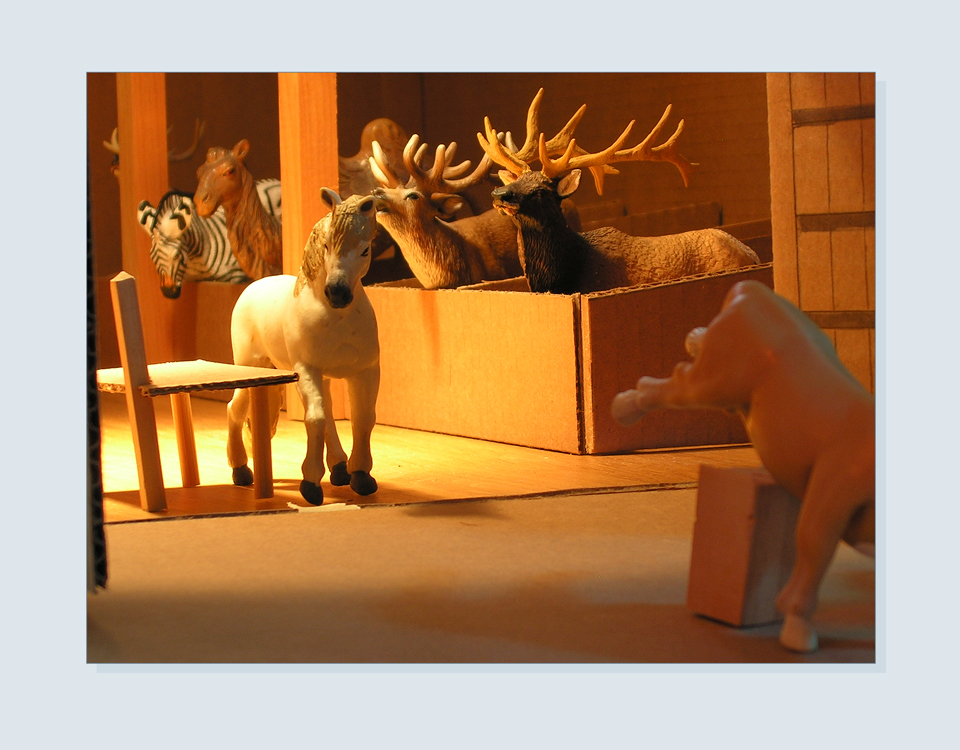
In order to see what the lighting inside the barn would be, I made a corrugated barn, and set up some toy animals for lighting and scale. I’m also in the process of growing out my “Santa” beard, which I’ve promised to trim back after the shoot…
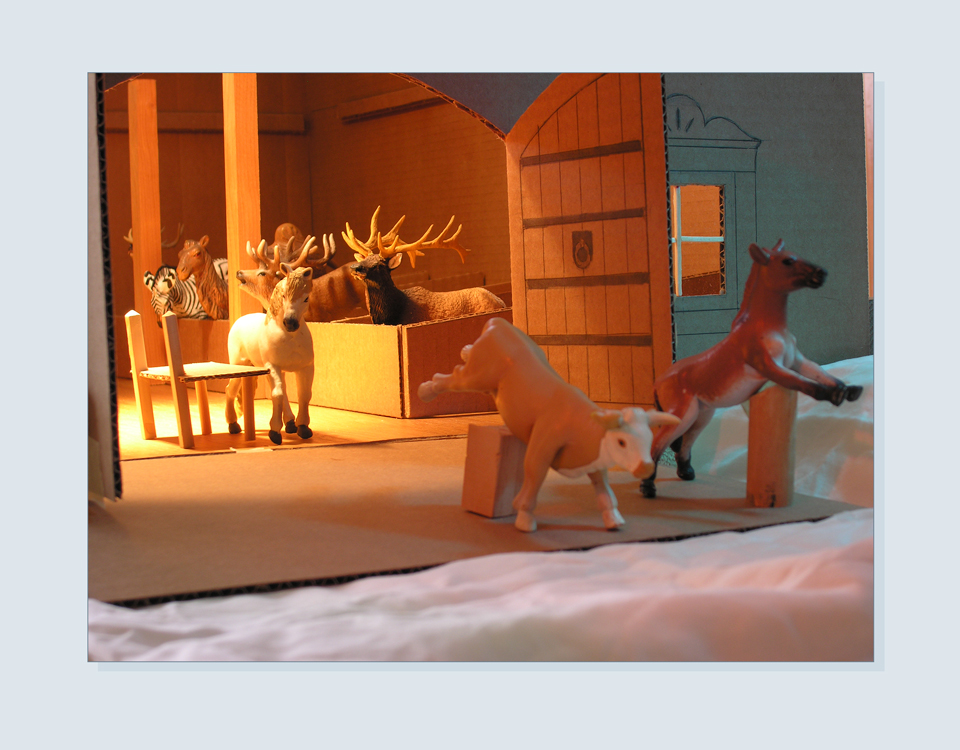
Here’s an assortment of barn animals, complete with a cow and horse attempting to fly. The main objective is to see what the interior lighting will look like.
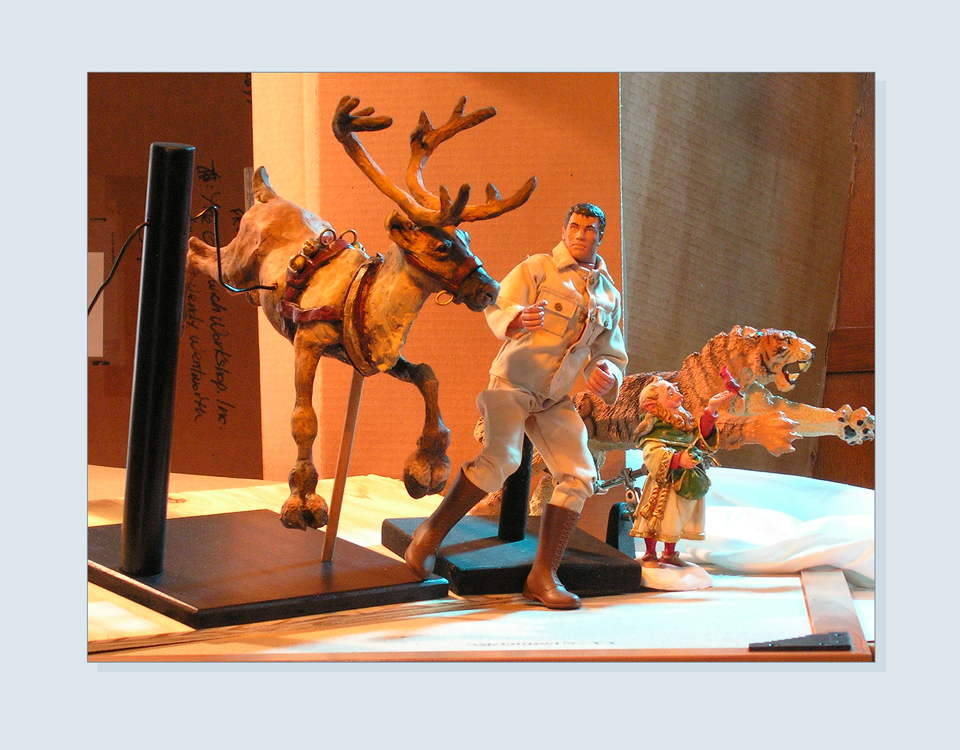
Of course, my assistant Joe needed to get involved. Here he is next to my reindeer sculpture I did when I was working on “The Night Before Christmas,” along with one of my elf sculptures. The tiger to the right also looks like he wants to fly.
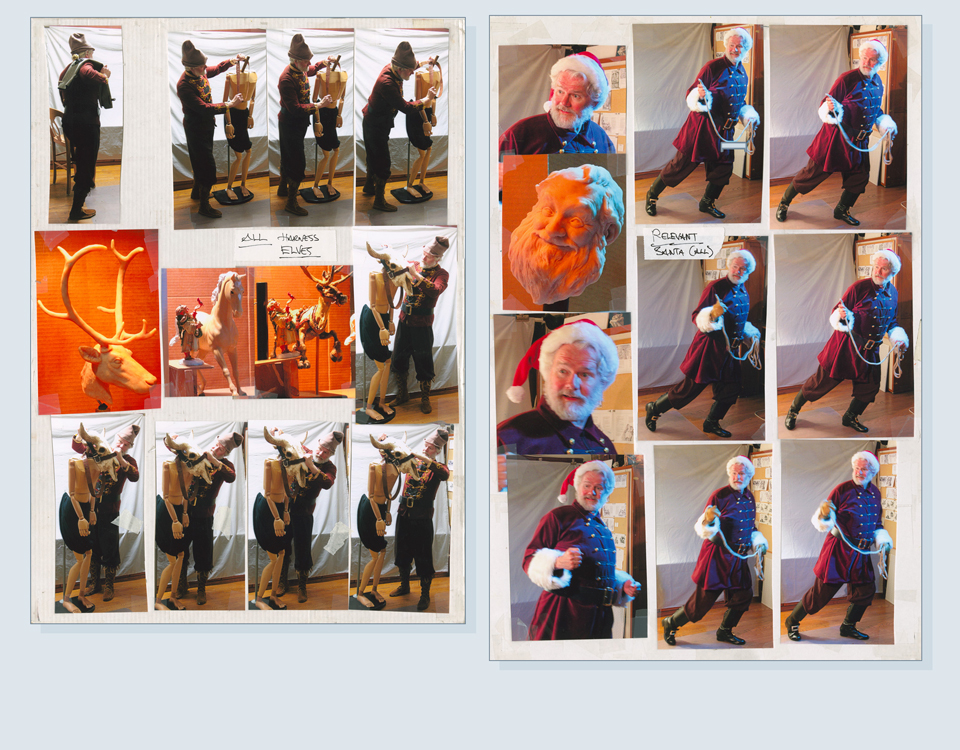
Here is yours truly posing as various elves in the process of bridling the reindeer, and on the right as Santa. This is where the full beard came in handy, along with a new Santa suit!
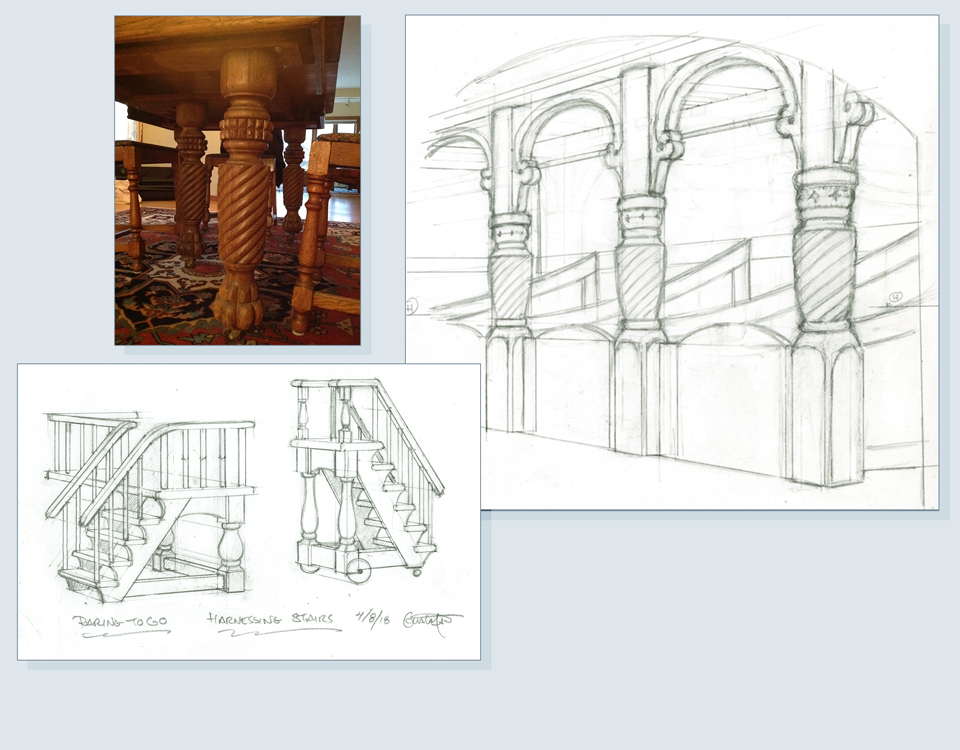
I’m showing a photo of our dining room table legs, which have been inspiration for several other paintings as well, and then the drawing of the stable columns. To the bottom left is a detailed drawing of the platforms the elves used to harness the reindeer.
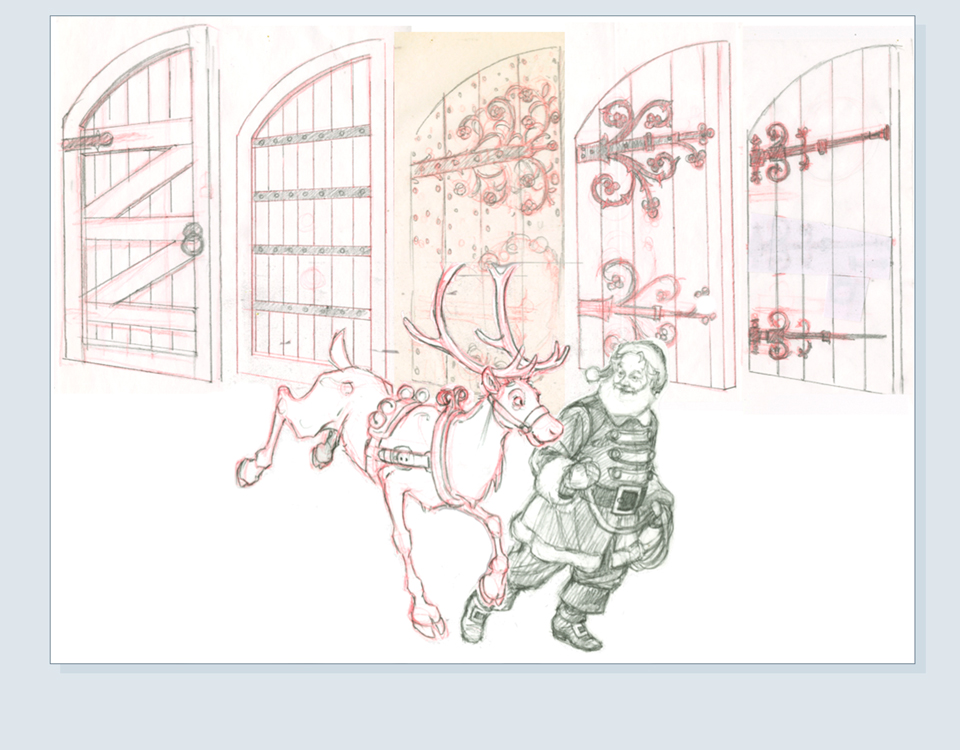
In the background you can see how variations on the barn door hinges were developed - lots of styles and eventually one solution. The deciding factor was how how Santa, and especially the reindeer’s antlers would look in front of each. In the end, simpler was better.
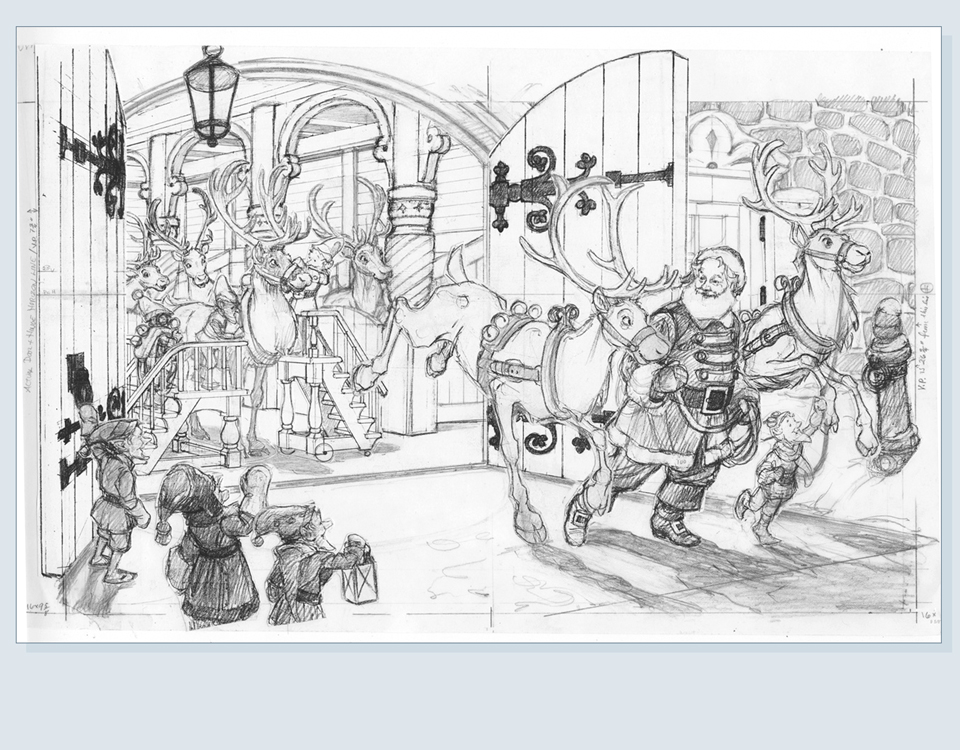
This is an intermediate stage between the rough sketch and the final drawing. So I’ve taken things to a more refined stage than the sketch, but will do yet another final version of the drawing from this.
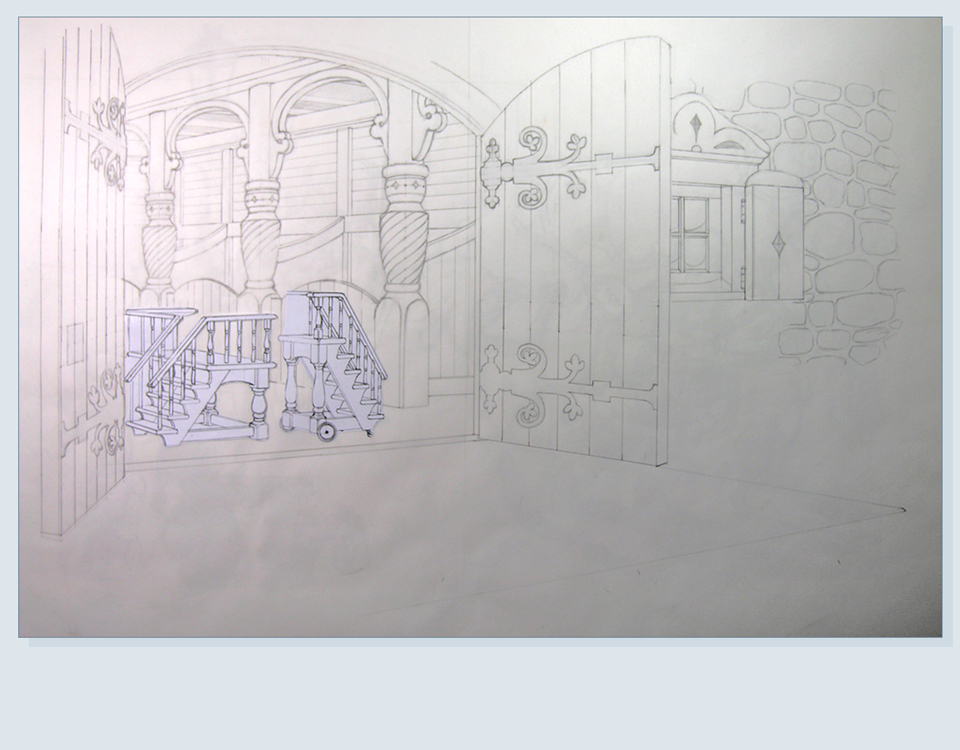
I’m working out the perspective of the stable and it’s interior.
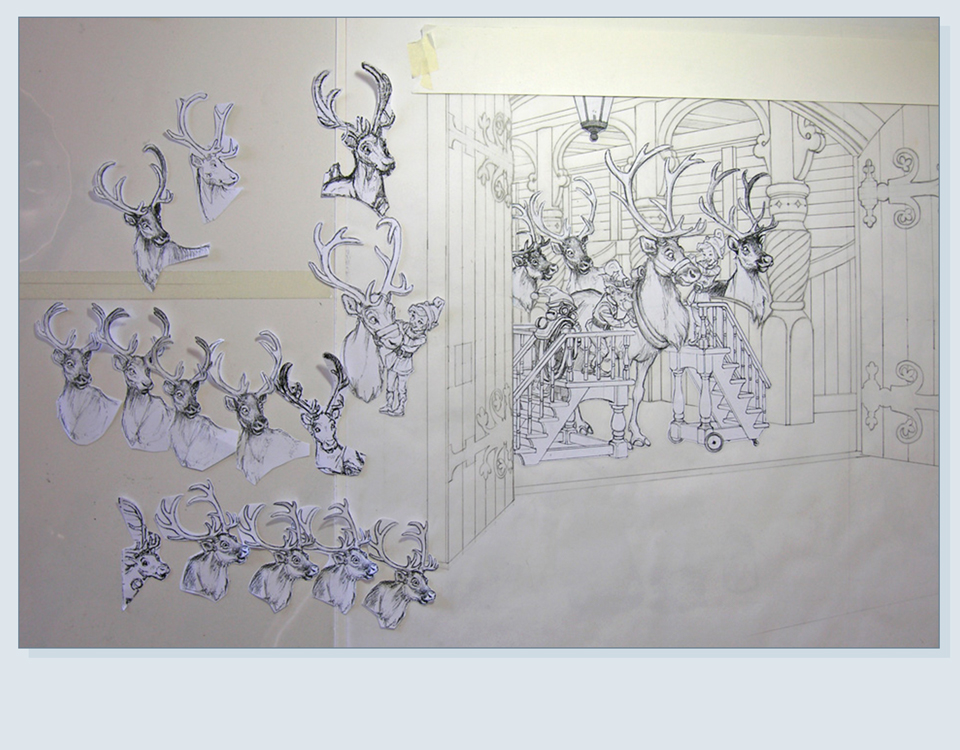
…showing xeroxes of reindeer heads, elves in position, etc. As you can see, I need to try lots of size variations of main elements, which I do by xeroxing and cutting them out, and backing them with repositionable adhesive wax.
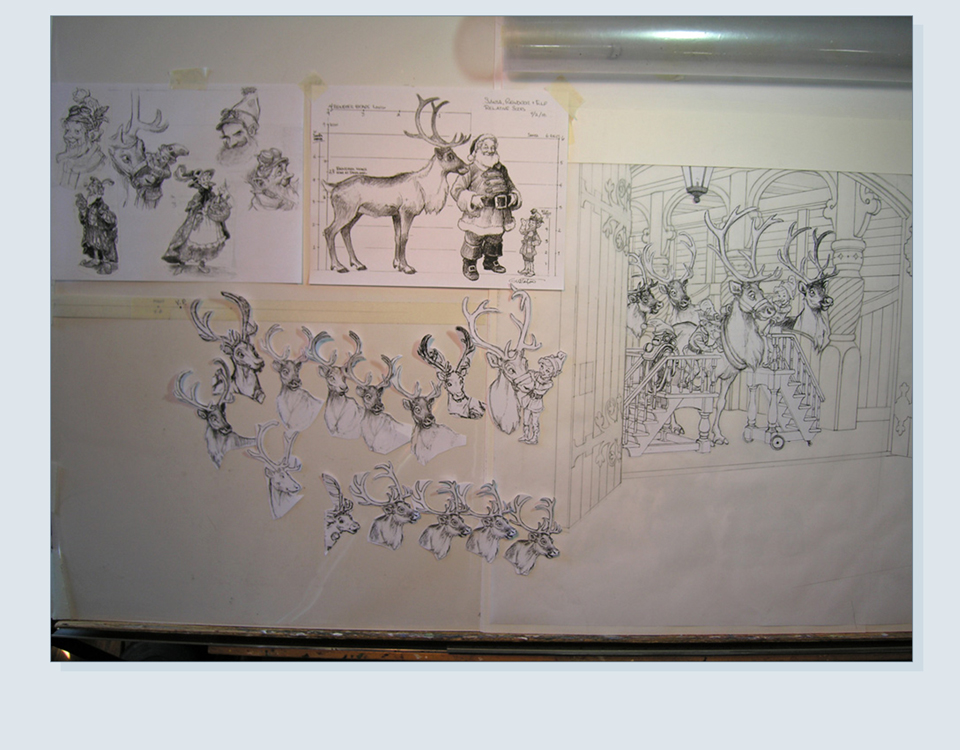
…basically, everything is in position here.
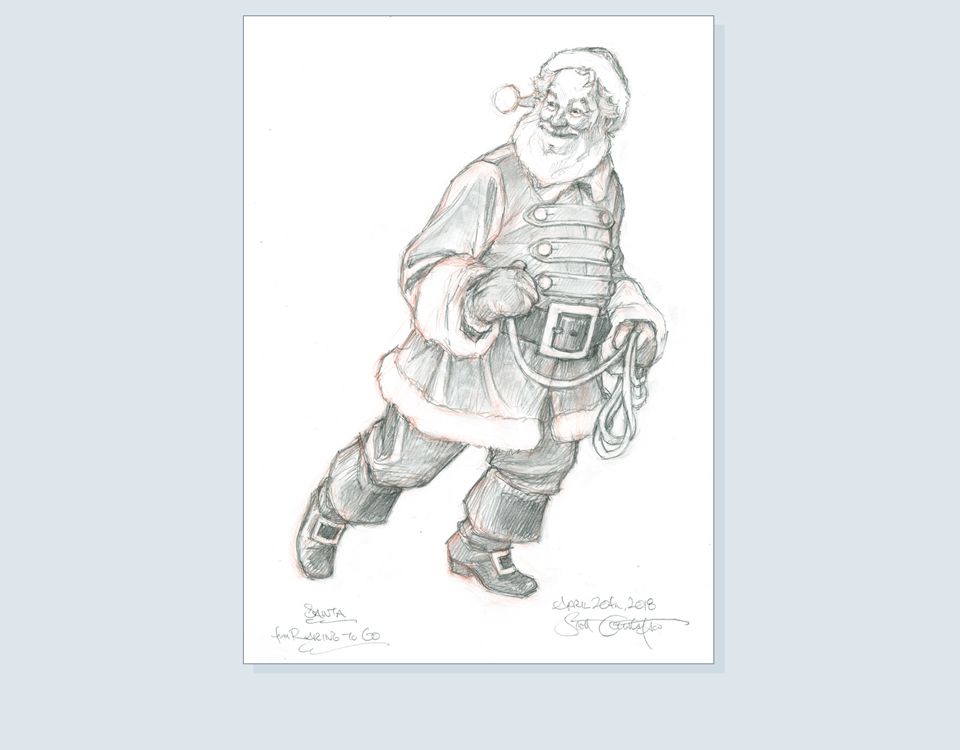
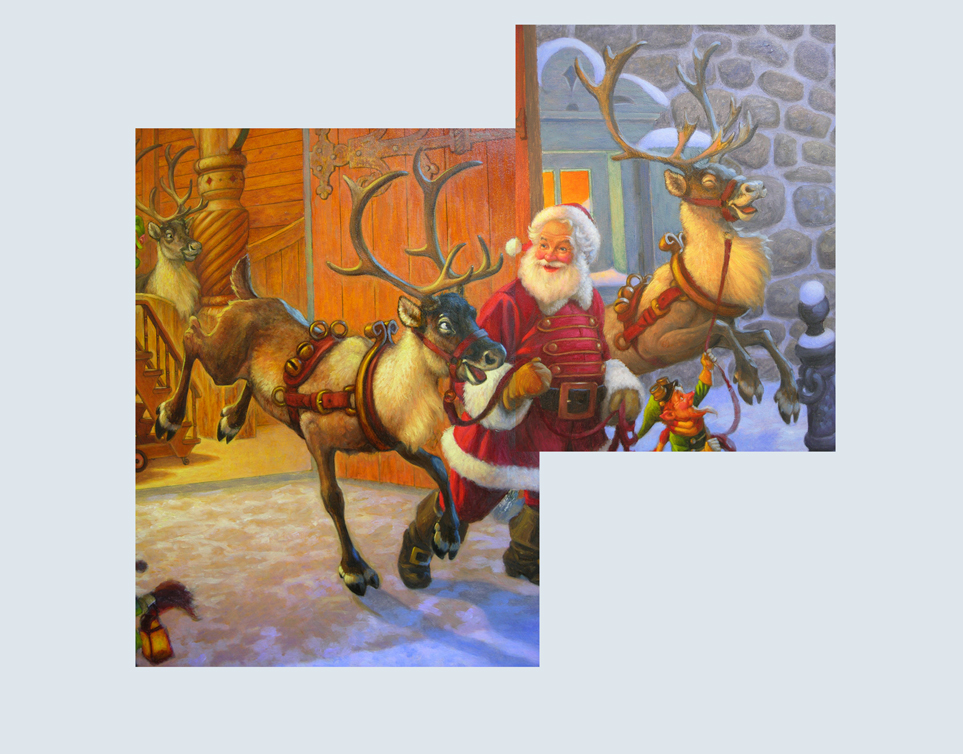
Here is the final drawing of Santa.
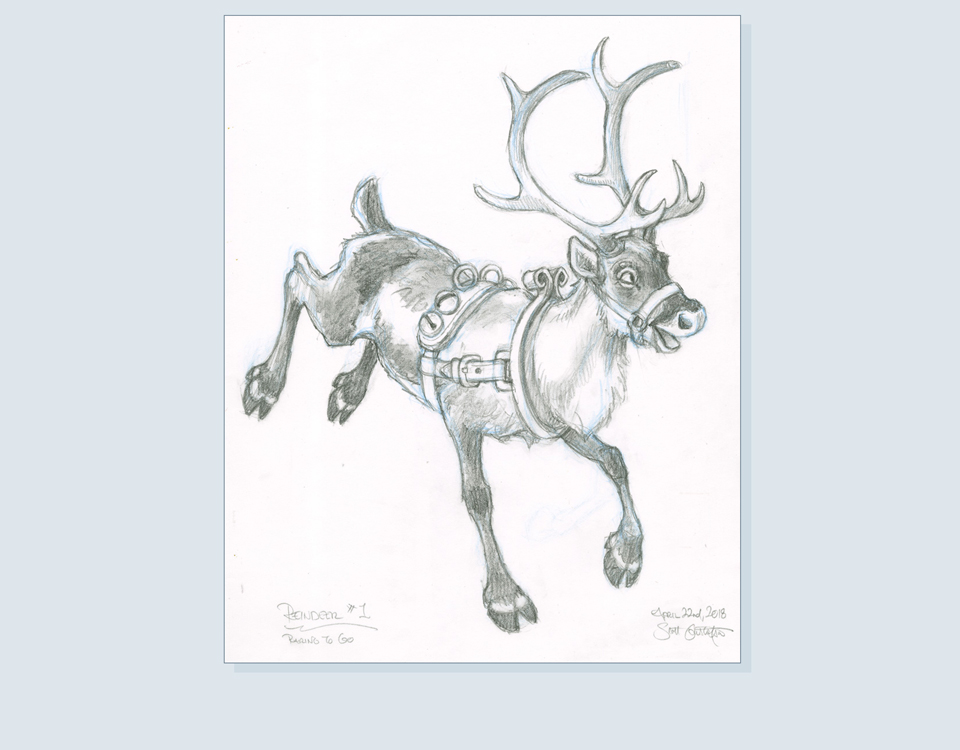
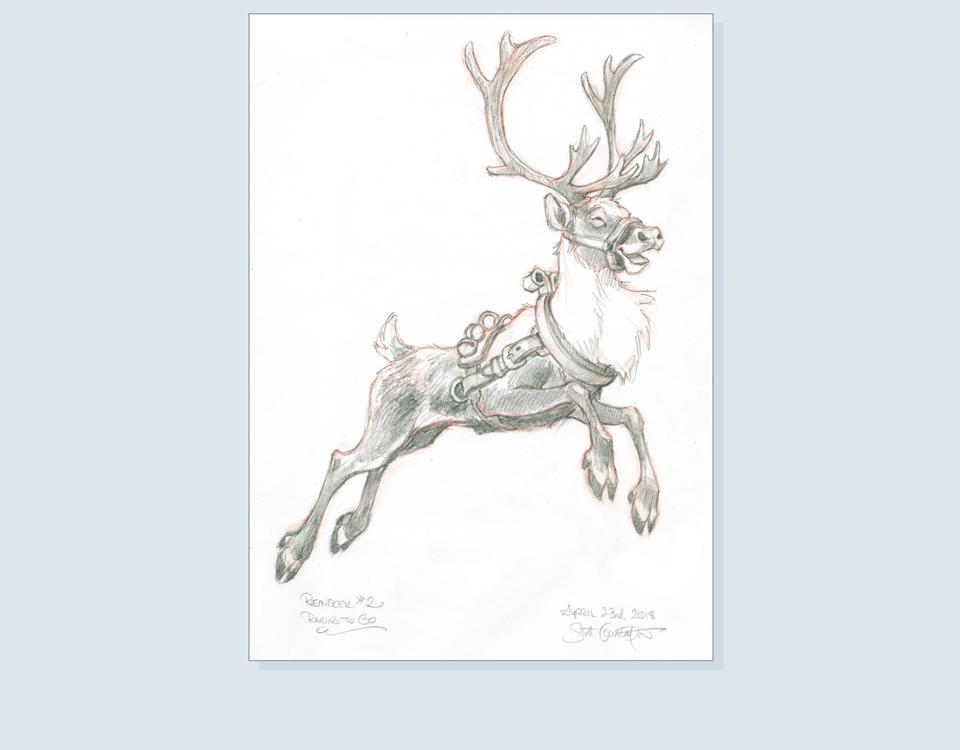
Here’s the reindeer that Santa is leading.
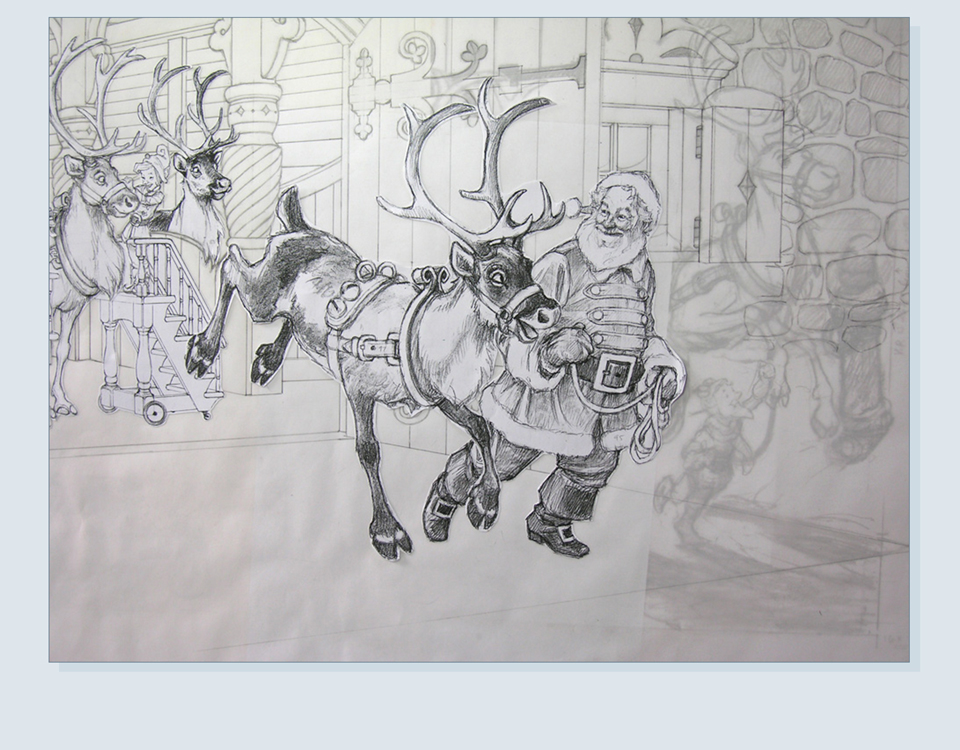
I have Santa and his reindeer on one layer, and the Elf and right reindeer on another. Testing sizes and relationships.
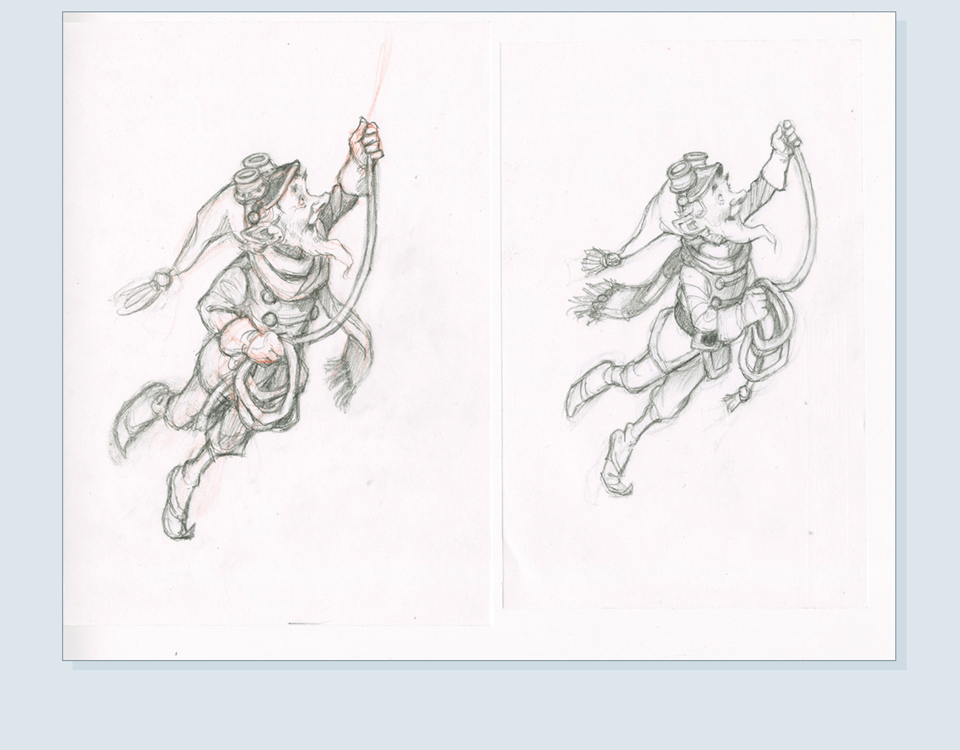
I tried a couple of slight variations on his pose to see which worked better in the composition.
Final drawing
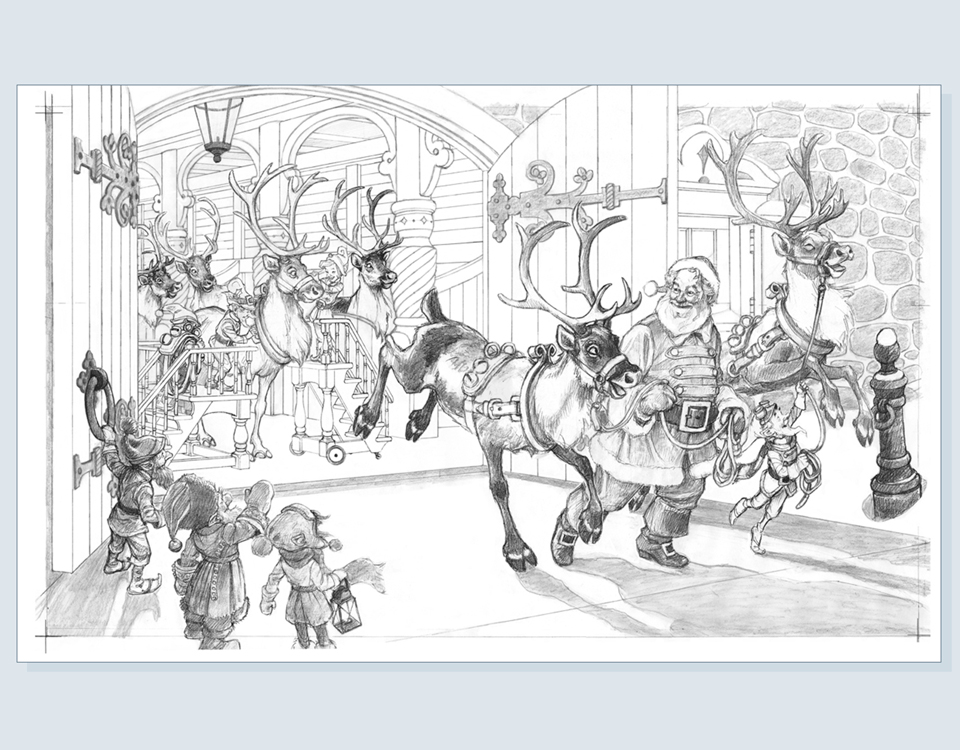
Here’s the final drawing with various marks indicating possible crops. This is the file that will be printed out on archival paper and will eventually be mounted onto a panel.
Once I have a my file of the final drawing, I print out a small copy, and then I paint directly on that as my color study. This is usually done in acrylics.
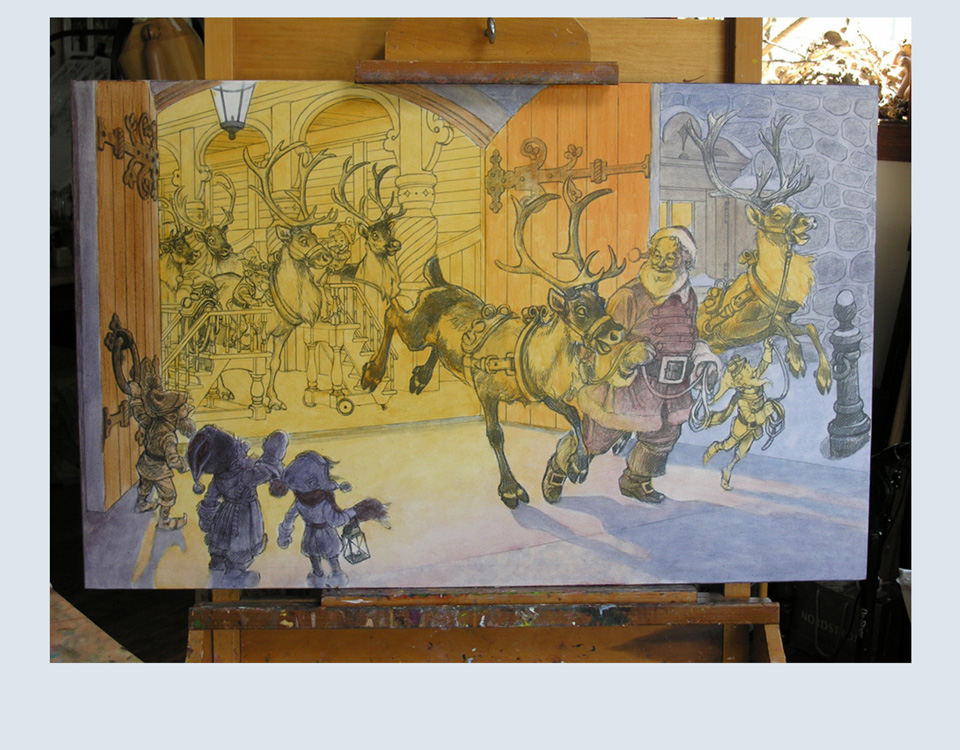
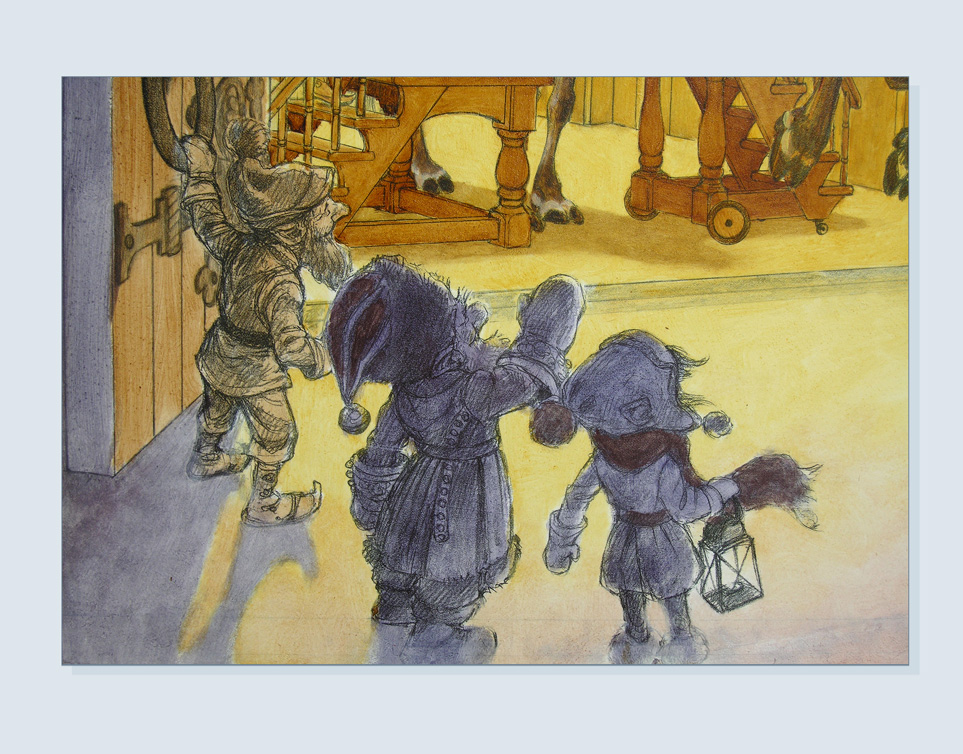
The full-sized print out of the final drawing has been mounted onto a masonite panel, and been allowed to dry. And the following day, I start laying in some basic overall color washes in oil.
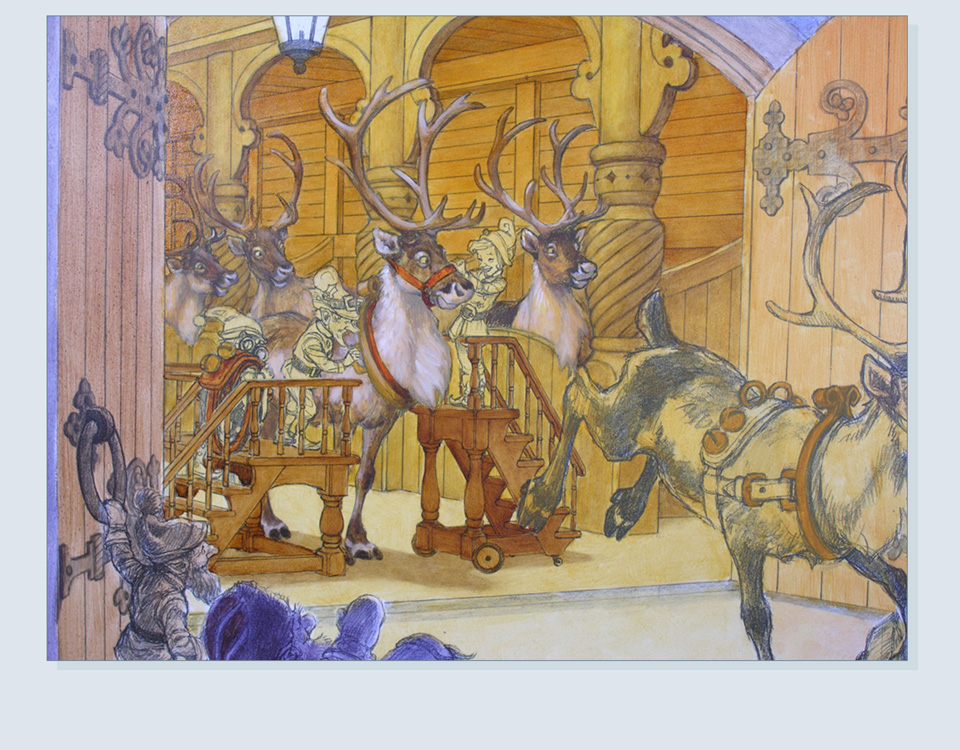
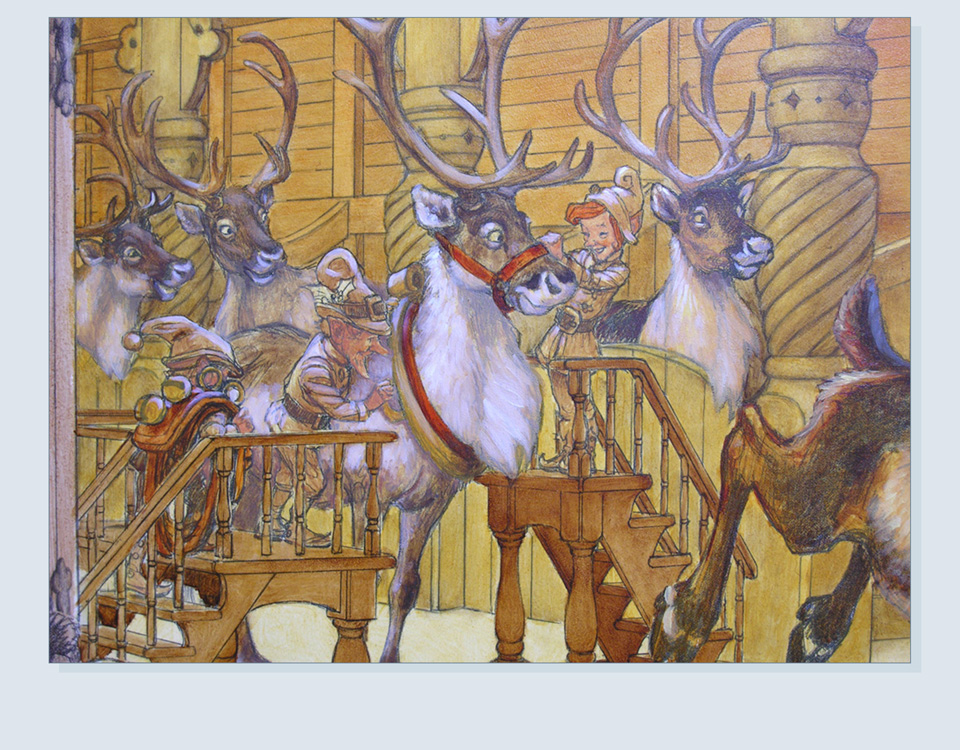
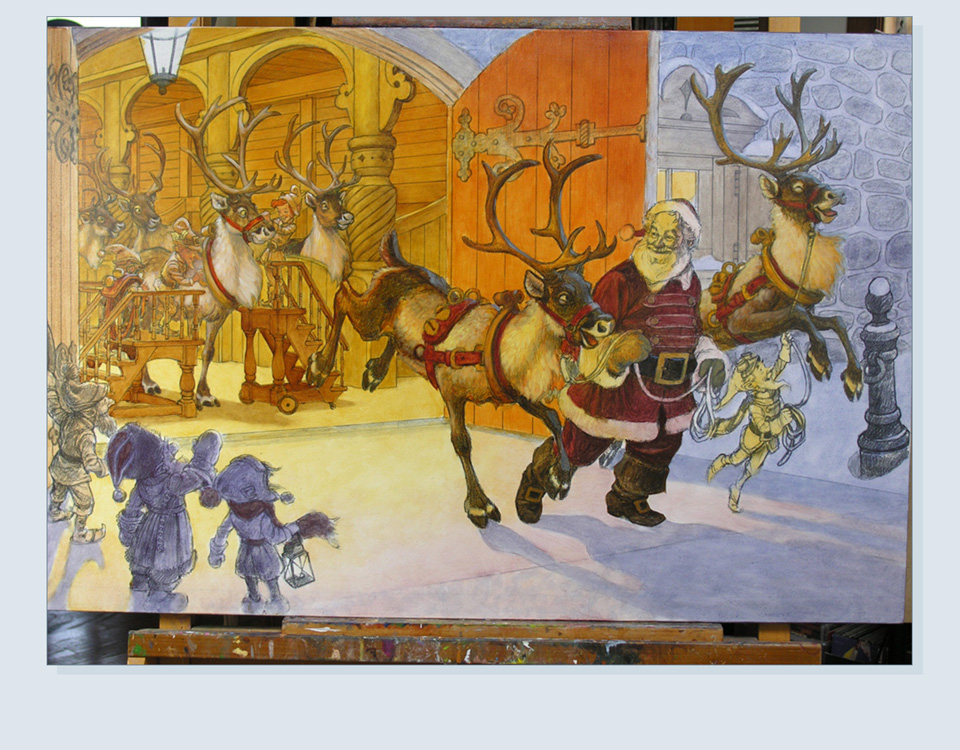
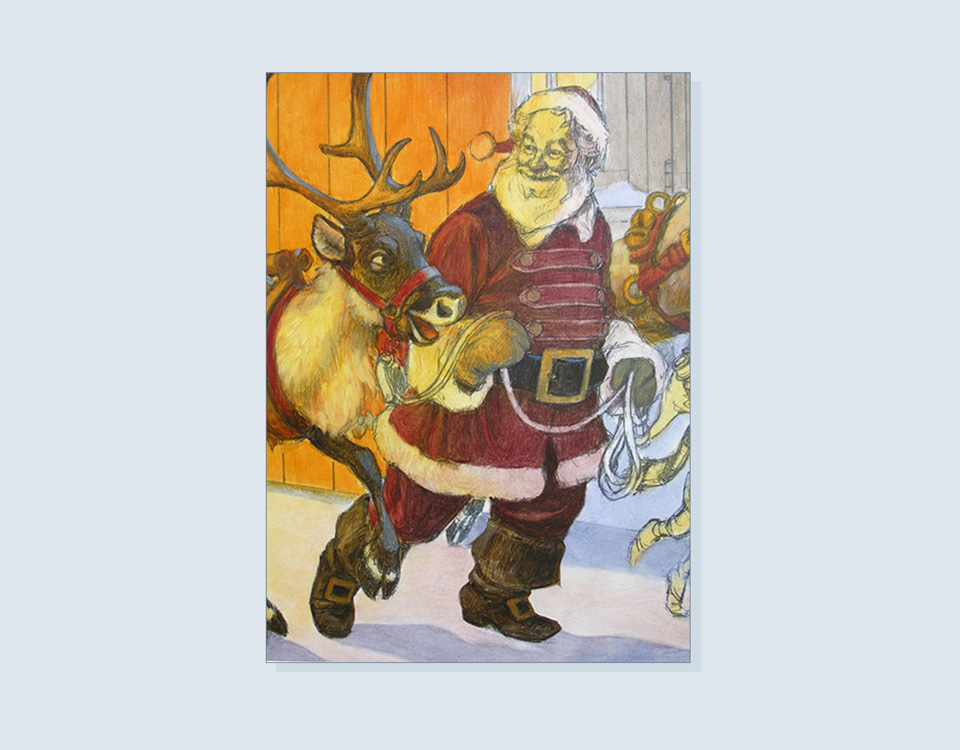
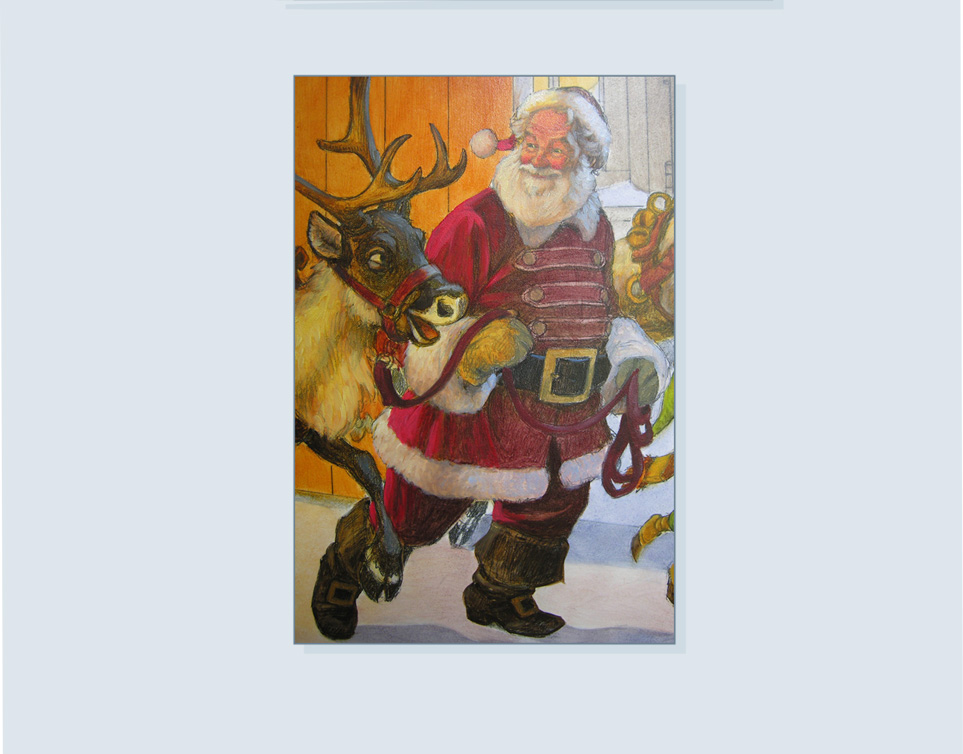
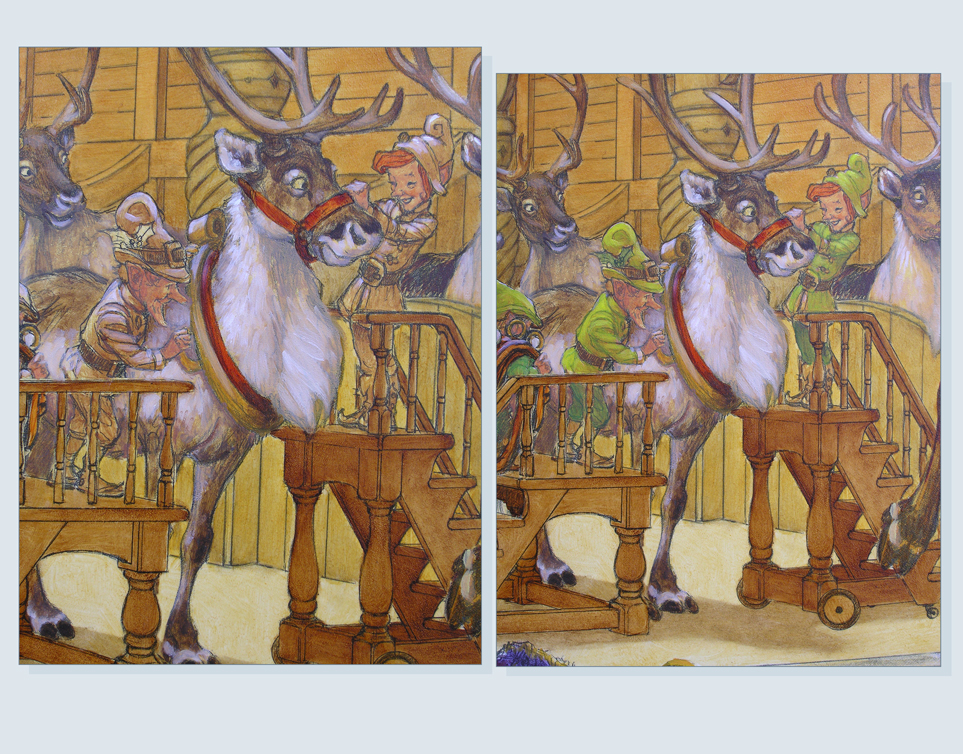
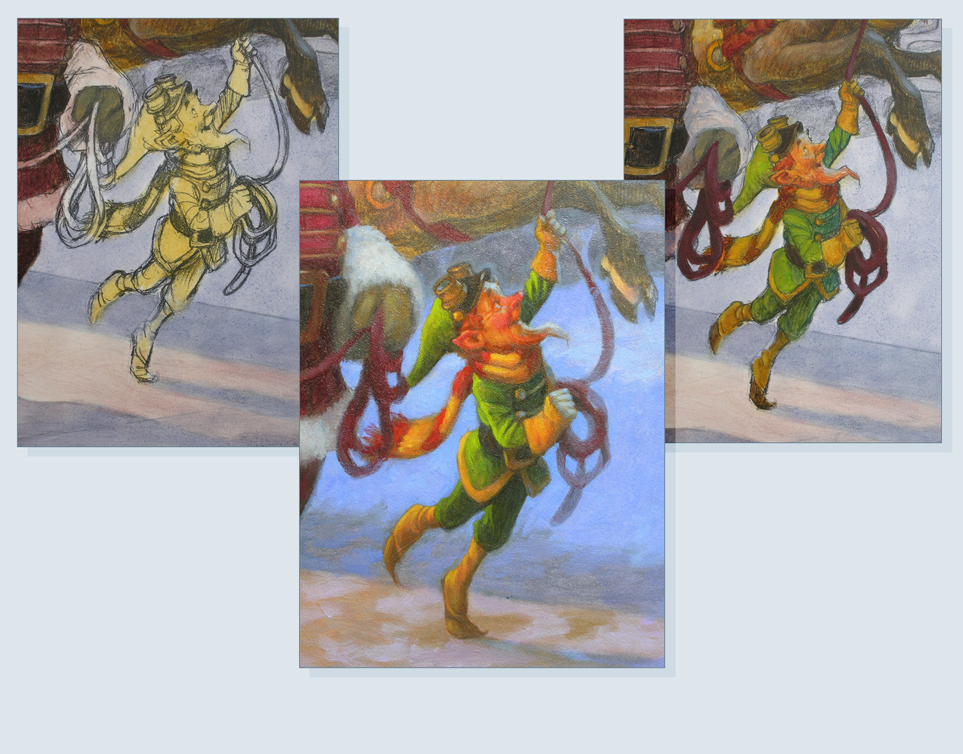
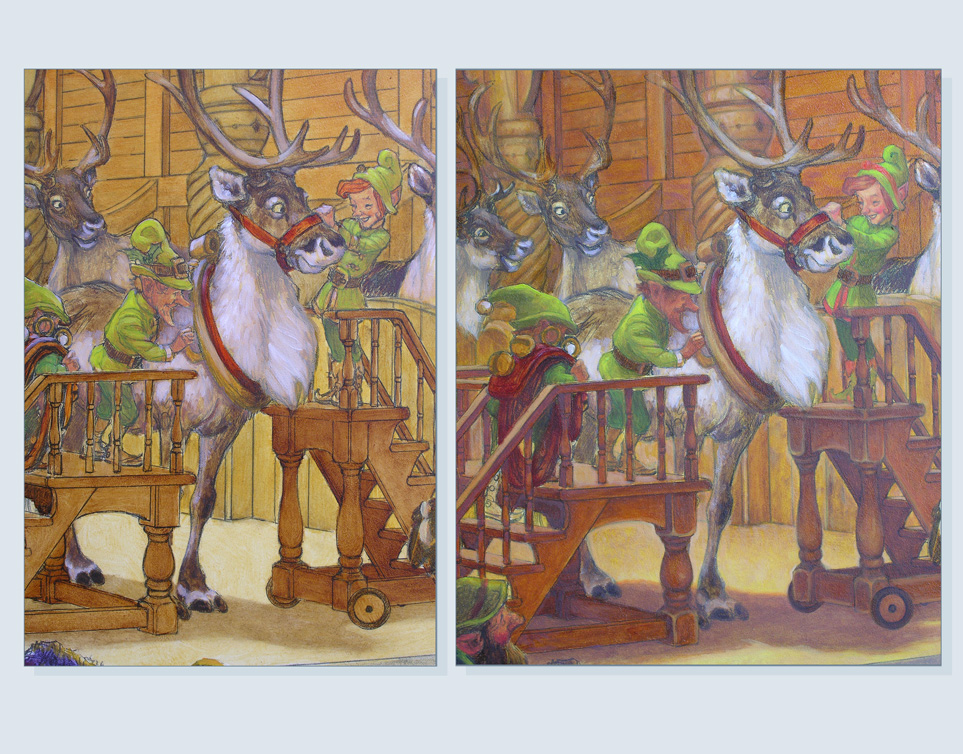
Here’s a little progression on the reindeer and elves.
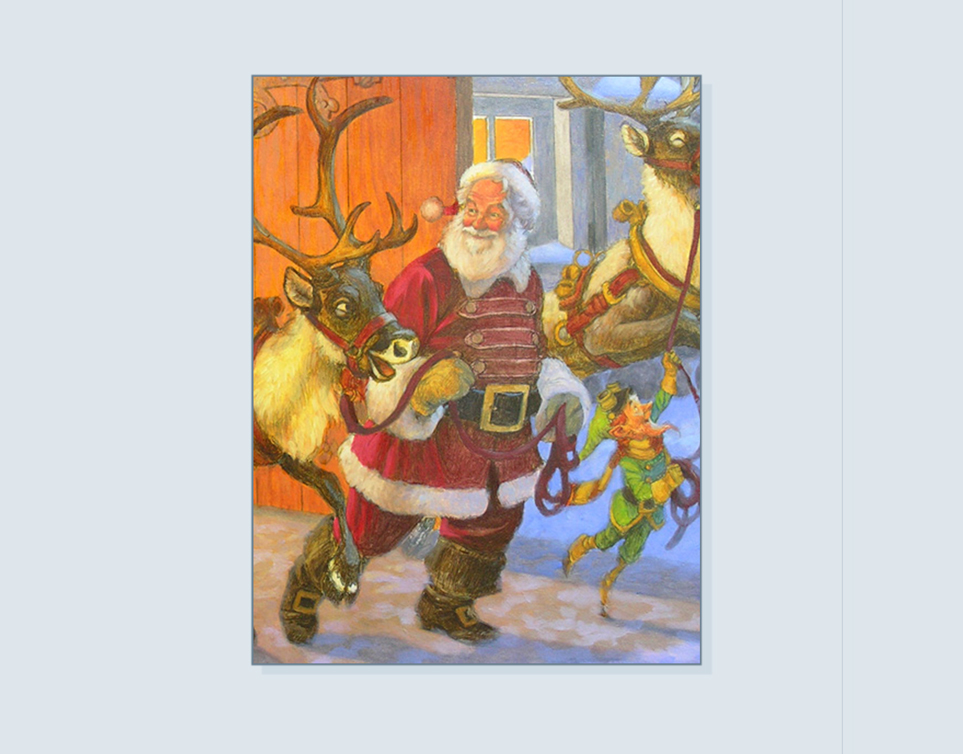
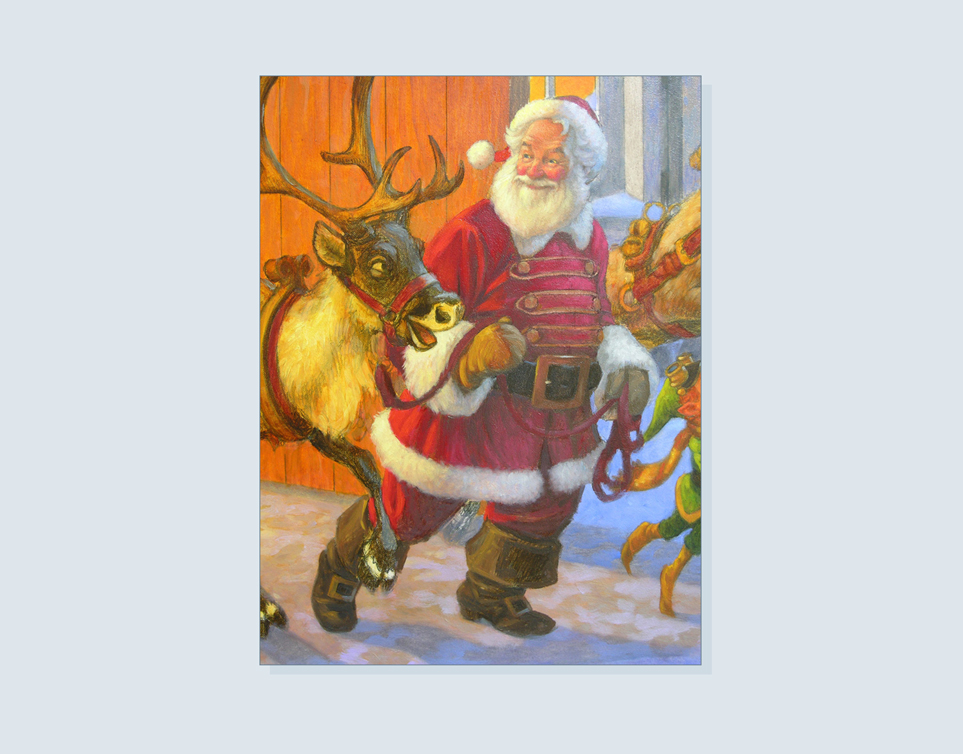
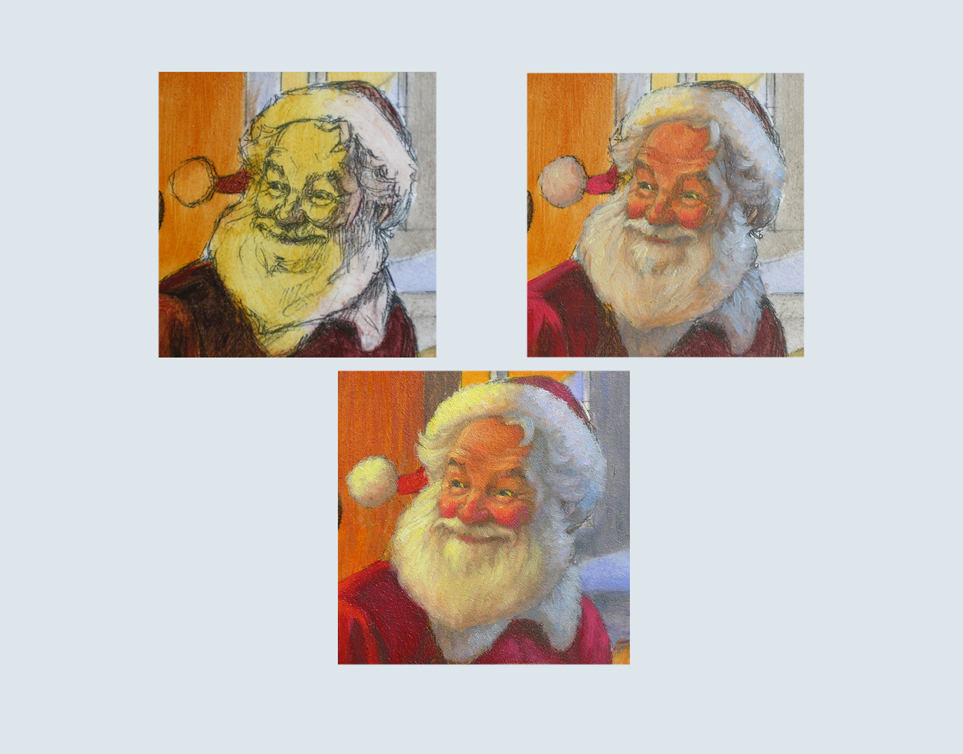
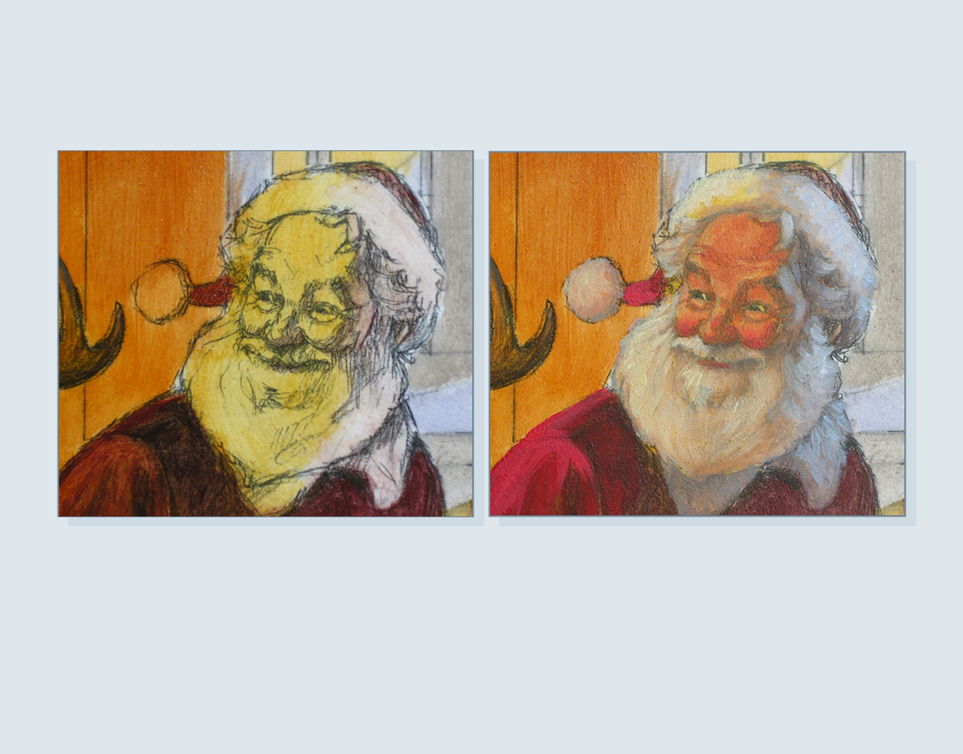
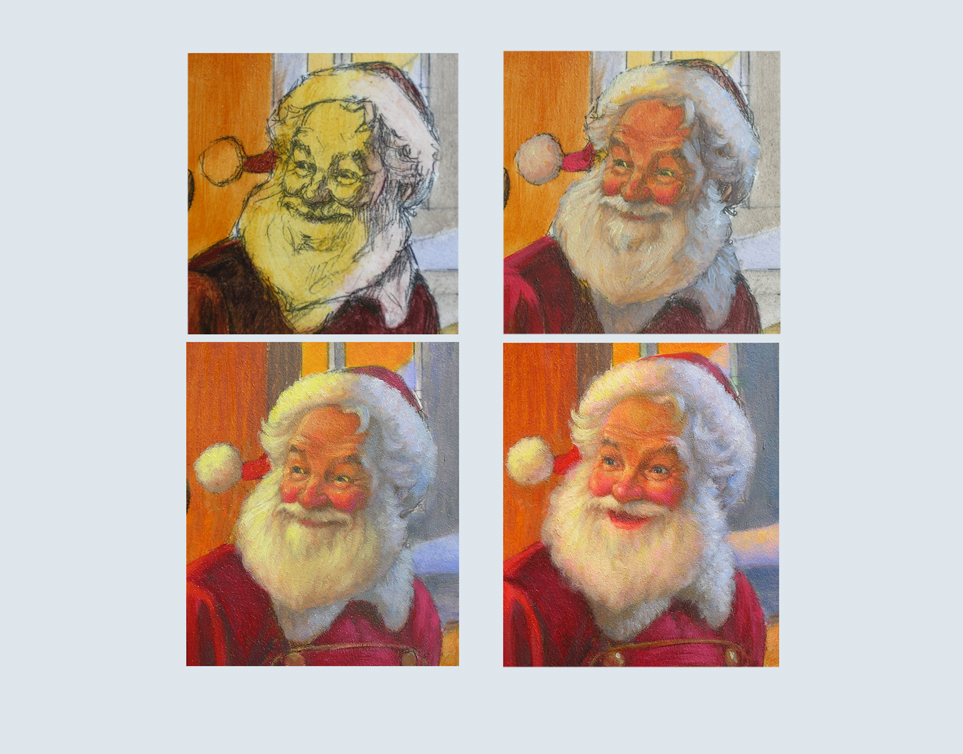
Here’s a side-by-side comparison of how Santa’s head has progressed so far.
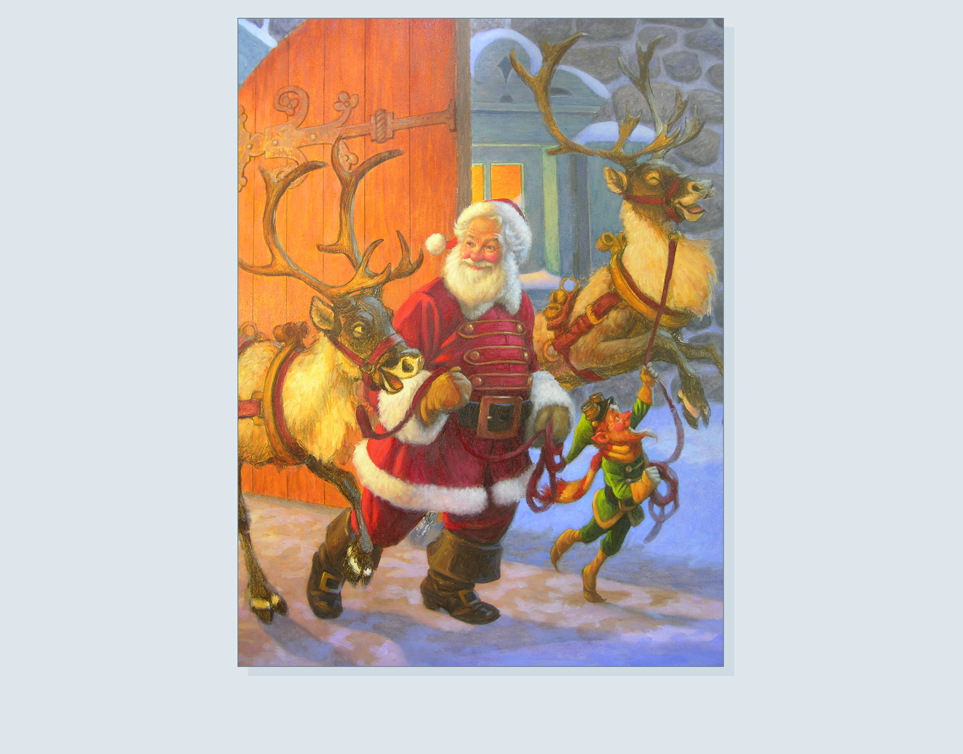
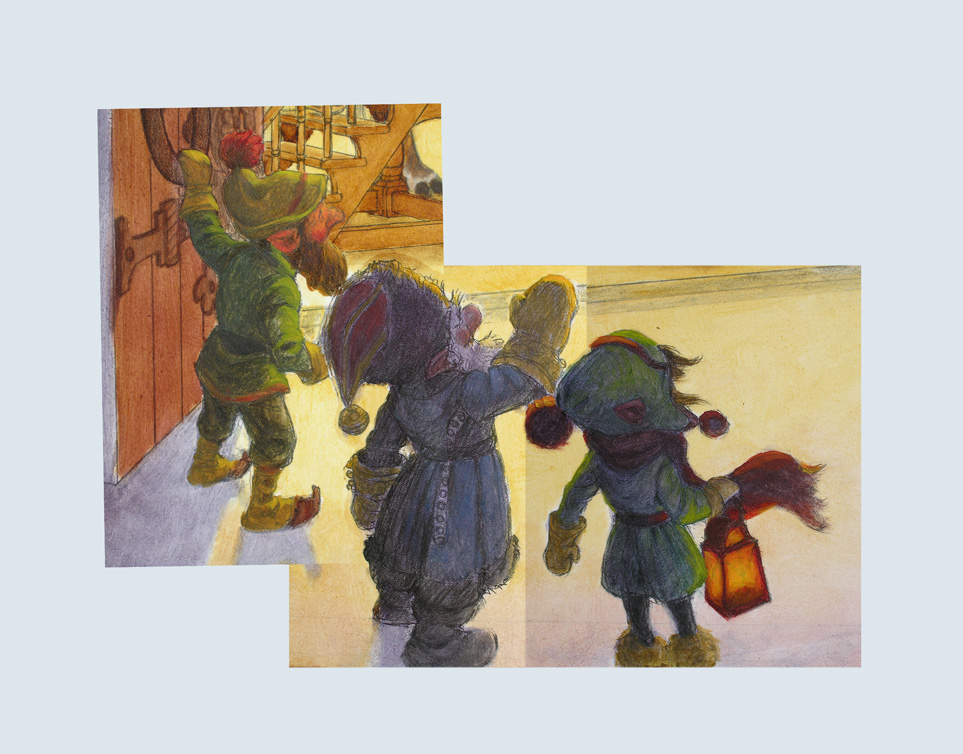
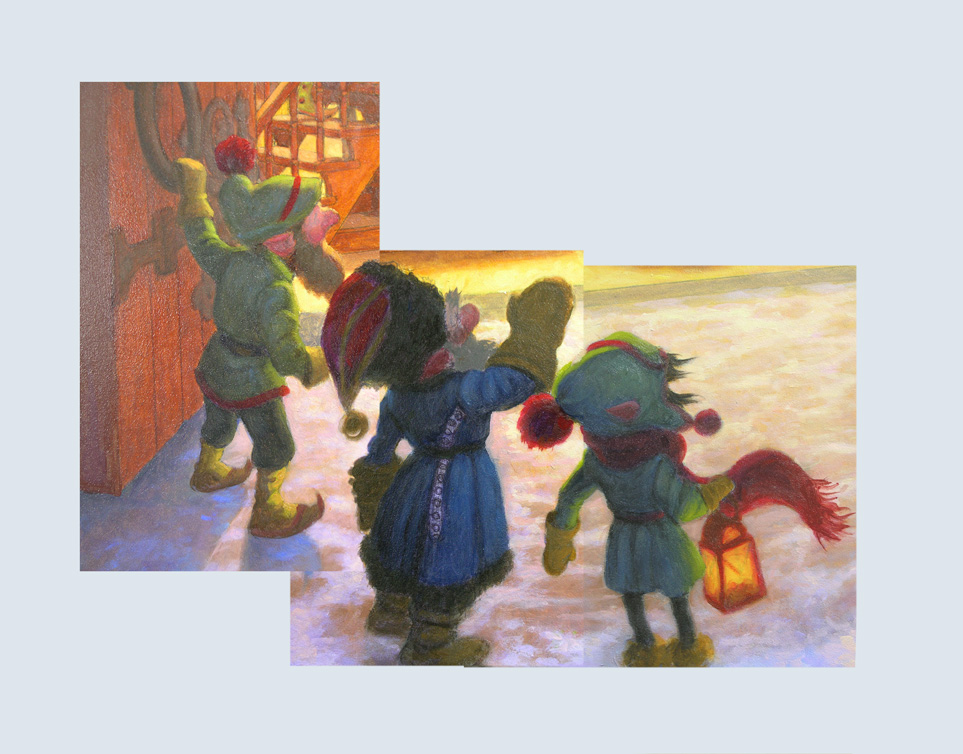
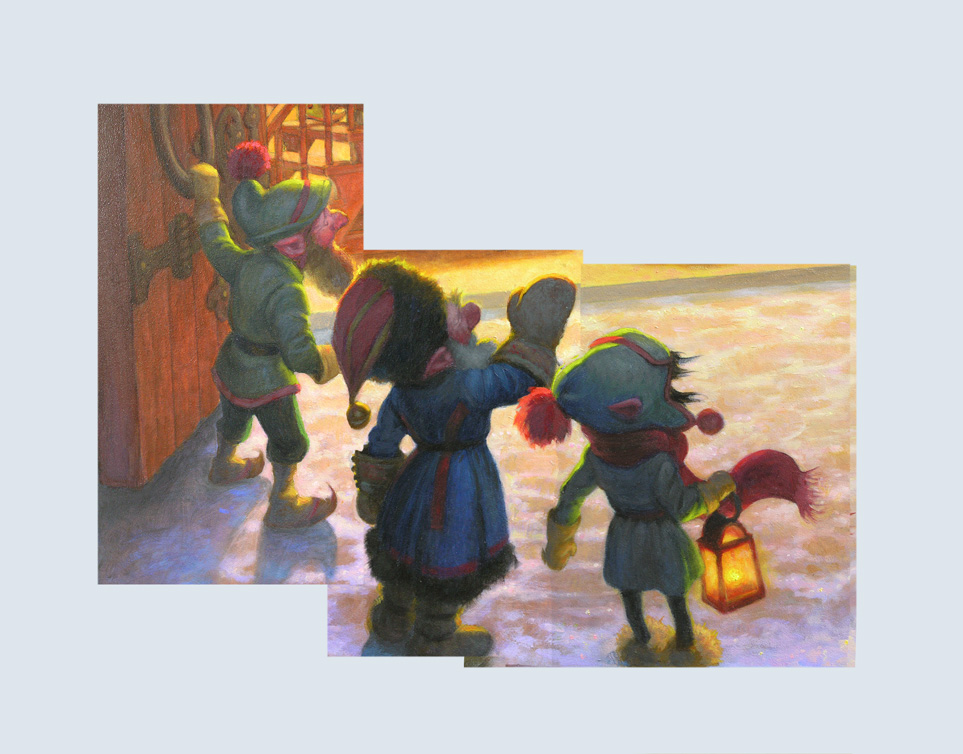
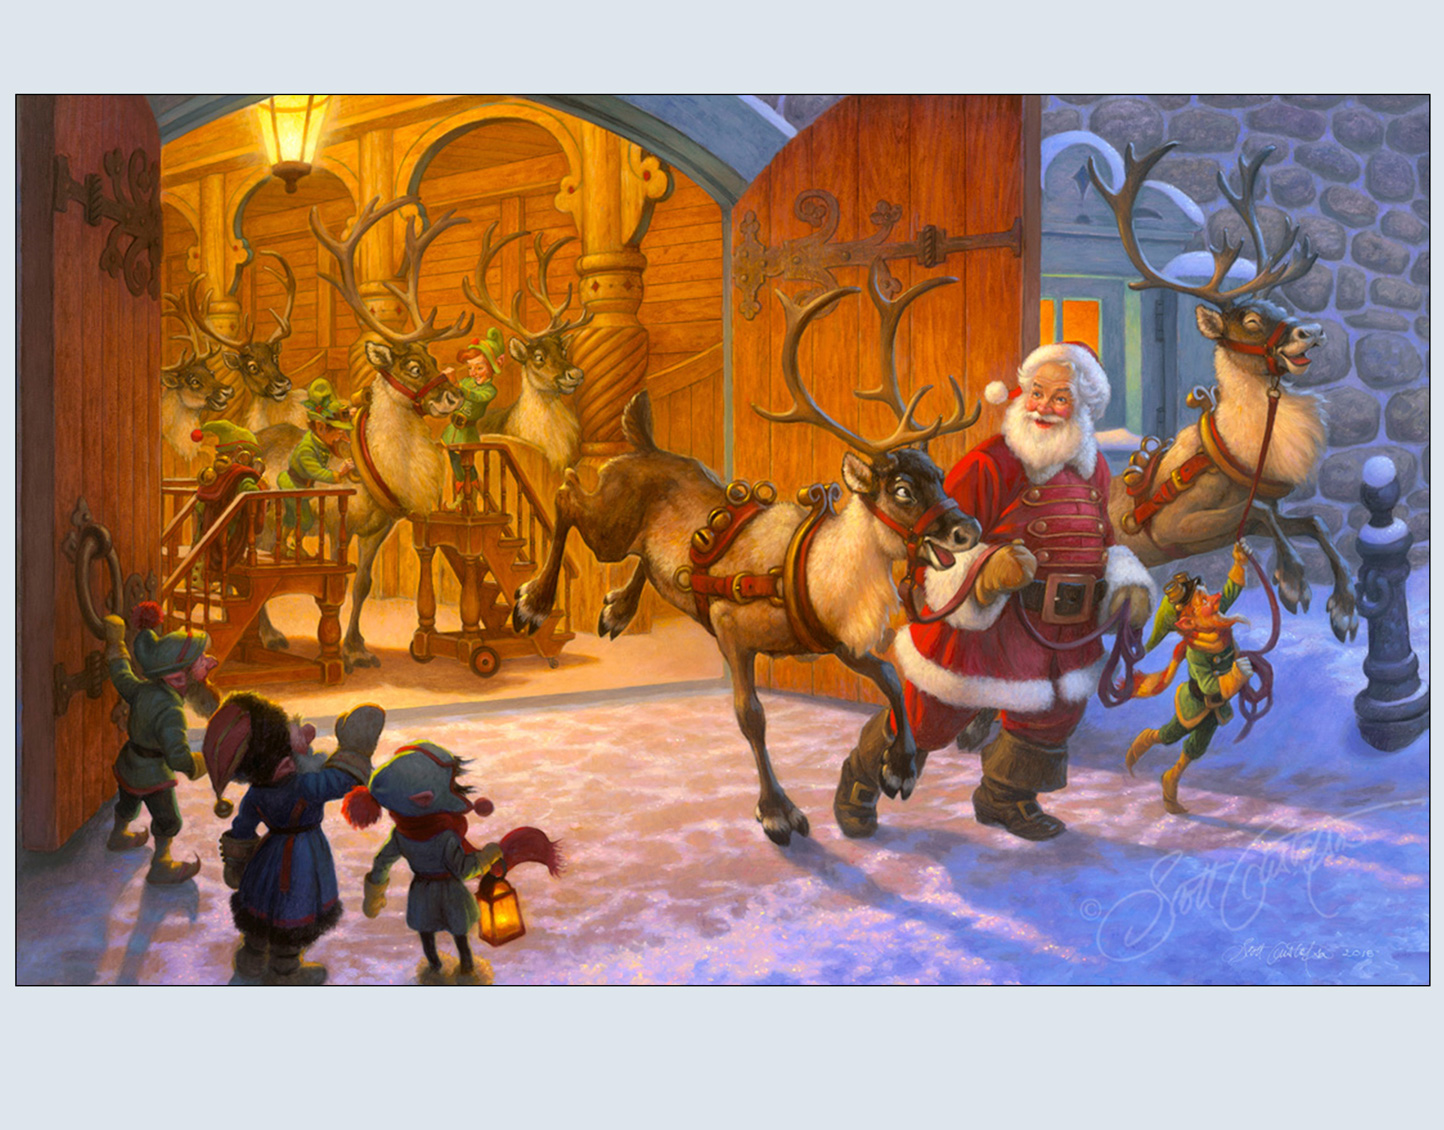
Here’s the final painting of “Christmas Eve and Raring to Go!” Thanks for following along on the progression and I hope you enjoyed it. Happy Holidays! SG
